Clay Pie Recipe – Easy & Fun Baking Guide
How to Make a Clay Pie is an adventure into a surprisingly delightful and uniquely satisfying culinary experience. Forget everything you thought you knew about traditional pies; this is something altogether different, something wonderfully earthy and primal. People are drawn to the sheer novelty and the unexpected deliciousness of a clay pie. It’s a dish that sparks conversation, ignites curiosity, and offers a taste of something truly ancient, reimagin extracted for the modern palate. What makes a clay pie so special isn’t just its rustic charm, but the way the simple ingredients, encased and slowly cooked within their earthen shell, develop an incredible depth of flavor and a wonderfully tender texture. It’s a testament to the power of slow cooking and the magic of a well-prepared bake.
Prepare to be amazed!
Let’s get started on your own Clay Pie creation.
How to Make a Deliciously Realistic Clay Pie
Craving a miniature masterpiece that looks good enough to eat (but decidedly isn’t!)? Today, we’re diving into the delightful world of polymer clay to craft a charming, tiny pie. This project is perfect for begin extractners and experienced crafters alike, offering a satisfyingly tactile and visually rewarding experience. We’ll be creating a rustic, inviting pie with a beautifully textured crust and a vibrant, juicy-looking filling. So, gather your supplies, put on your favourite crafting playlist, and let’s get started on making this adorable clay pie!
Ingredients:
Preparing Your Workspace and Materials
Before we begin extract, it’s essential to have a clean and well-lit workspace. Polymer clay can pick up dust and debris easily, so a tidy area will ensure your pie has a pristine finish. I like to lay down a sheet of parchment paper or a dedicated clay mat to work on. This prevents the clay from sticking to my surface and makes cleanup a breeze.
For our pie crust, we’ll be using tan polymer clay. Take a generous portion of this clay and condition it well. Conditioning means warming it up and making it pliable by kneading, rolling, and stretching it. This process breaks down the clay’s internal structure, making it easier to work with and less prone to cracking later on. You’ll notice it becomes smoother and more flexible as you work it.
Now, let’s think about our pie dish. For this project, a silver bottle cap makes an excellent, perfectly sized miniature pie tin. Ensure your bottle cap is clean and dry. We’re going to use this as a mold to shape our crust.
Crafting the Pie Crust
1. Shaping the Base: Take your conditioned tan polymer clay and flatten it into a circular disk. The size of this disk will depend on the size of your bottle cap. Aim to make it slightly larger than the circumference of the bottle cap. You can use a rolling pin or your fingers to achieve this. Once you have a flattened circle, gently press it into the silver bottle cap, allowing the clay to conform to the shape of the cap. Make sure the clay covers the bottom and goes up the sides, forming the base of your pie crust. Trim any excess clay that hangs over the edge. You want a neat, even rim.
2. Adding Crust Texture: Now for the fun part – making our crust look realistic! Gently press the edges of the clay-lined bottle cap with your fingertips or a craft tool to create a crimped or fluted edge. You can make small indentations all around the rim to mimic a classic pie crust finish. Don’t worry about perfection; a slightly rustic look is often more appealing for a homemade pie. You can also use a toothpick or a small sculpting tool to create subtle lines or textures on the surface of the crust, suggesting the delicate layers of a baked pastry.
Creating the Delectable Filling
3. Preparing the Filling: For our filling, we’ll be using red polymer clay. Take a piece of red clay and condition it until it’s smooth and pliable. Roll it into a ball and then slightly flatten it. We want to create a filling that looks slightly lumpy and juicy, much like real fruit pie filling. You can gently press your fingers into the clay to create subtle depressions and unevenness. If you’re using multiple colours for your filling, such as a mix of red and a hint of darker red or even a touch of purple, condition them separately and then swirl them together gently. This creates a more natural, varied look.
4. Assembling the Pie: Carefully place the prepared red filling into the tan clay-lined bottle cap. Don’t pack it down too tightly; you want it to have some volume and appear slightly domed, as if it’s just been poured. You can gently press it down in the center, creating a slight well, which will add to the realism. If you desire a lattice top, you would have prepared thin strips of tan clay separately and woven them over the filling at this stage. However, for this particular recipe, we’ll focus on a crust top.
Baking and Finishing Touches
5. Adding a Baked Effect with Pastels: Once your pie is assembled, it’s time to give it that beautiful, golden-brown baked look. This is where our soft pastels come in! Using a small brush, gently dab and blend two shades of brown soft pastel onto the edges and surface of your pie crust. Start with a lighter brown and then add touches of a darker brown for depth and shadow, particularly in the crimped edges and any textured areas. The pastels will adhere to the surface of the polymer clay, giving it a realistic powdery, baked appearance. Be subtle with your application; you can always add more, but it’s harder to take away. Gently brush away any excess pastel dust with a clean, dry brush.
Baking Your Miniature Masterpiece
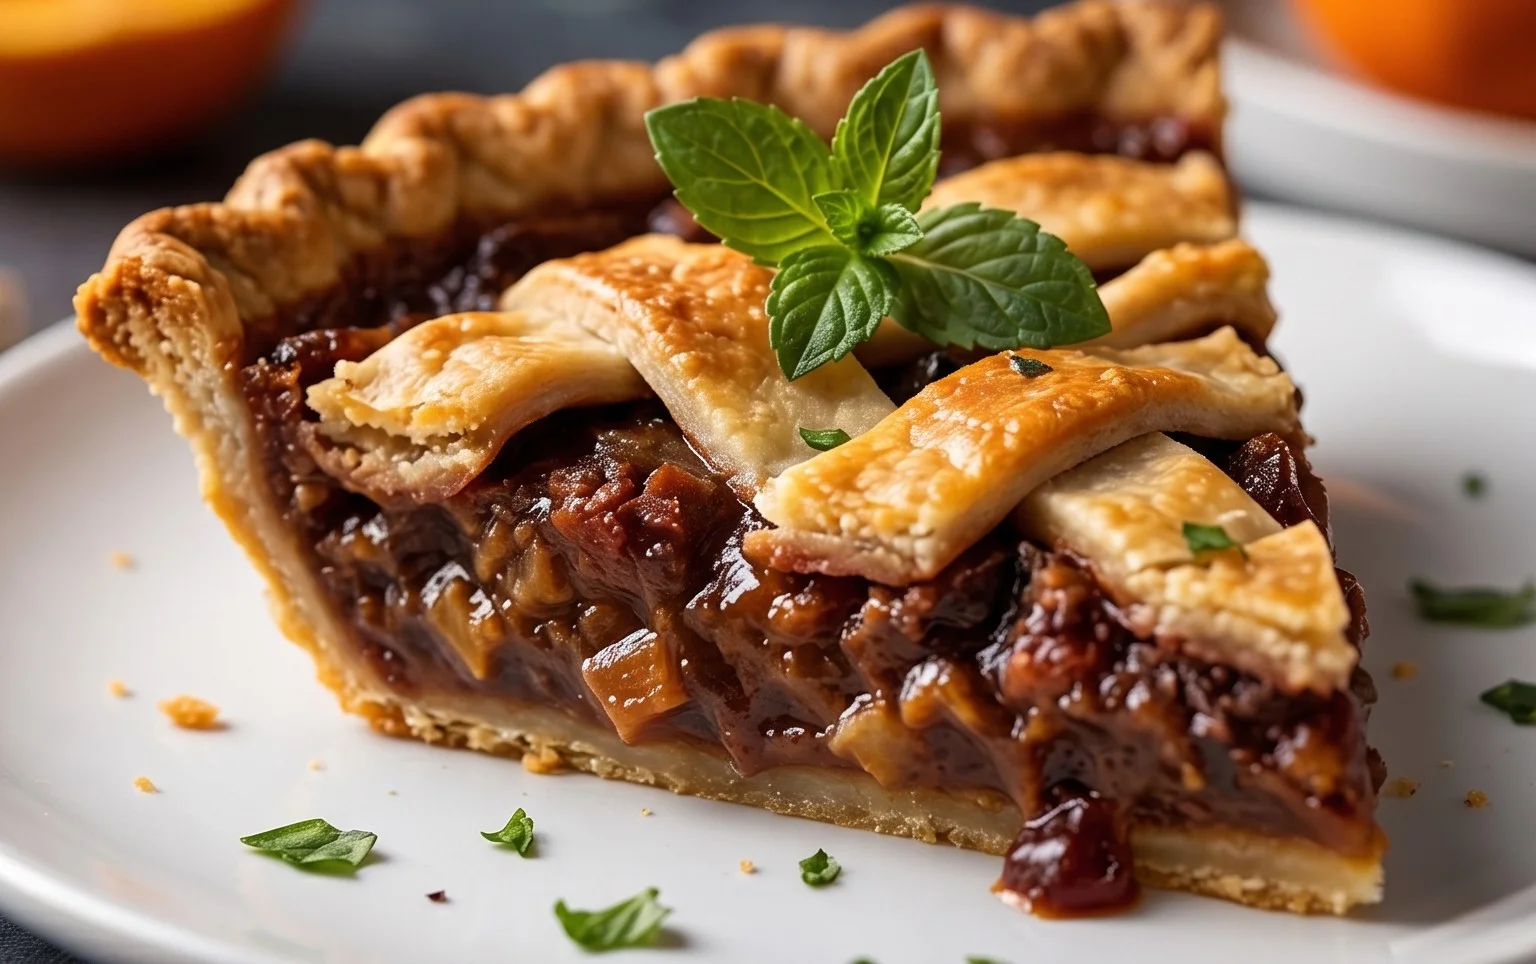
Now that your pie is assembled and beautifully colored, it’s time to bake it according to the polymer clay manufacturer’s instructions. Typically, this involves baking in a conventional oven at a specific temperature for a set amount of time. Ensure your oven is preheated correctly. Once baked, let your clay pie cool completely in the bottle cap before attempting to remove it. As it cools, the clay will harden, making it permanent.
Congratulations! You’ve just created a wonderfully realistic miniature clay pie. This little creation is perfect for dollhouses, dioramas, or as a unique charm. Enjoy your delicious-looking, everlasting treat!
Conclusion:
Making your own clay pie is an incredibly rewarding experience! This recipe, with its straightforward steps and delightful outcome, is perfect for anyone looking to add a touch of homemade charm to their celebrations or simply enjoy a fun, creative activity. The beauty of a clay pie lies in its versatility and the sheer joy of crafting something unique. It’s a fantastic way to engage with tactile art and create a beautiful centerpiece or a thoughtful gift. I highly encourage you to give this a try; you might just discover a new favorite pastime!
When it comes to serving suggestions, think outside the box! While it’s not edible, a clay pie can be adorned with faux fruits, edible flowers (for photos!), or small trinkets to match a theme. It’s a wonderful addition to a dessert-themed display, a dollhouse accessory, or even as a teaching tool for younger crafters. For variations, don’t hesitate to experiment with different color pnon-alcoholic alettes for your clay, adding textures with stamps or tools, or even incorporating small embellishments like glitter or beads before the clay fully dries. The possibilities are truly endless!
Frequently Asked Questions about Clay Pies:
Can I make a clay pie if I’ve never worked with clay before?
Absolutely! This recipe is designed to be begin extractner-friendly. The clay is typically air-dry or oven-bake, making it very accessible. With simple shaping and a little patience, anyone can create a beautiful clay pie.
How do I store my finished clay pie?
Once your clay pie is completely dry and any glaze or paint has set, store it in a dry place away from direct sunlight or excessive moisture. This will help preserve its color and integrity for a long time.
Can I use real pie crust with my clay pie for a layered effect?
While you can’t bake them together, you could create a dried or faux crust element from other materials and adhere it to your clay pie once both are fully dry. This could add an interesting textural contrast for display purposes!
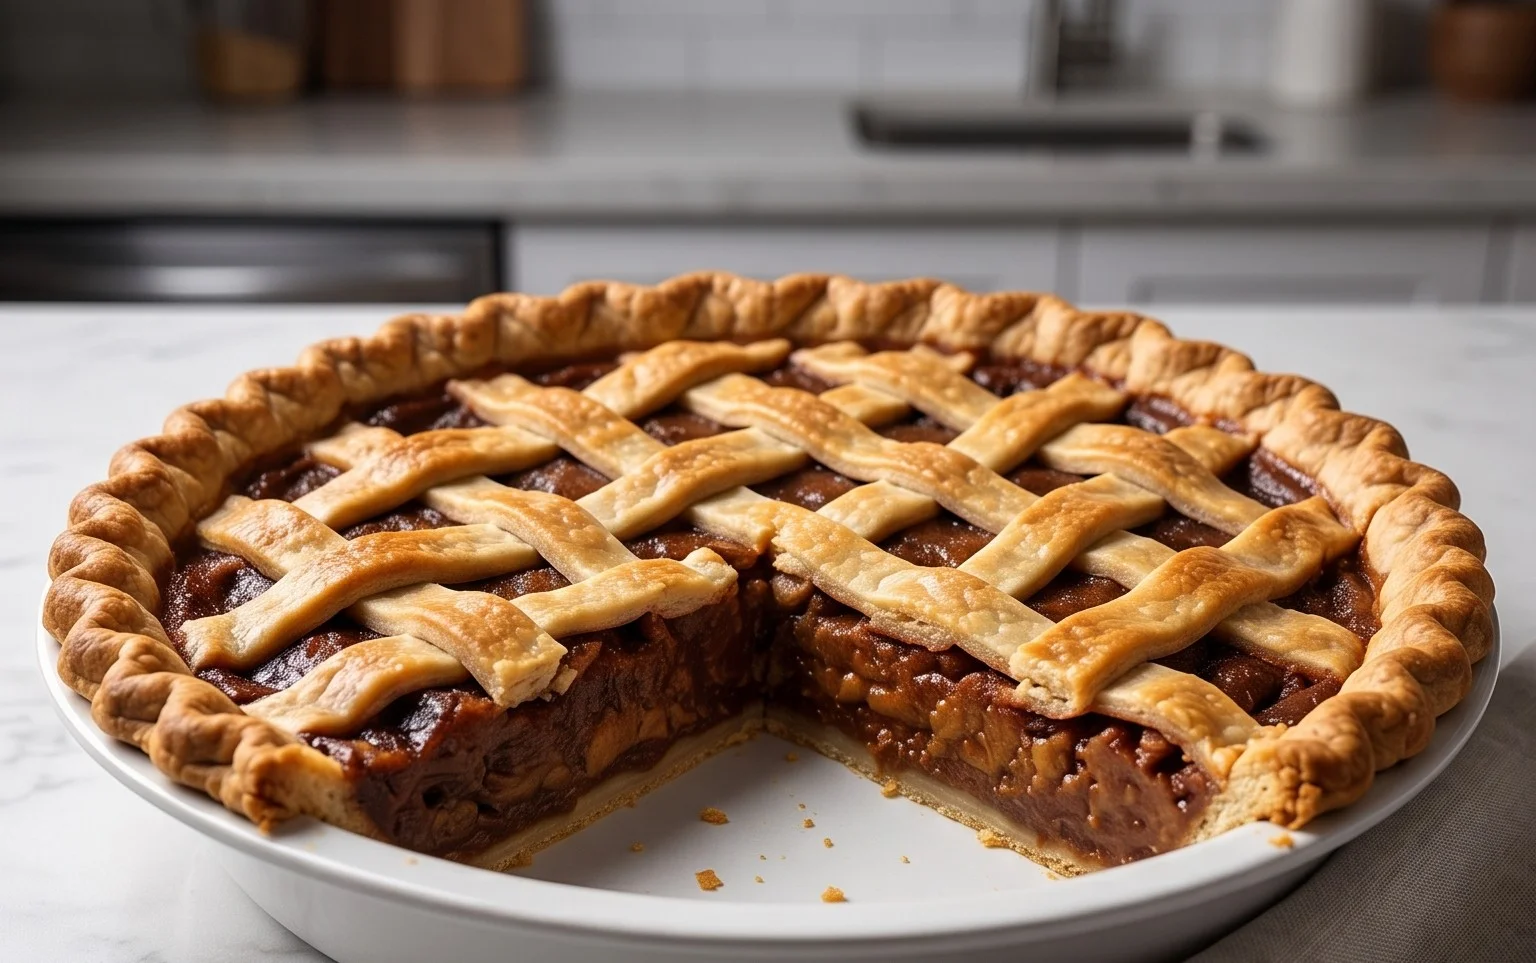
How to Make a Clay Pie
A simple guide to crafting a decorative clay pie, perfect for miniature displays or crafting projects. This recipe uses polymer clay to simulate a pie crust and filling, adorned with a bottle cap for a charming touch.
Ingredients
-
Tan Polymer clay
-
Silver bottle cap(s)
-
Red Polymer clay
-
Soft pastels (2 shades of brown)
-
White polymer clay (for crust highlights)
-
Sculpting tool (optional, for texture)
Instructions
-
Step 1
Knead the tan polymer clay until pliable. Roll it out into a flat circle, slightly larger than your desired pie size. This will be your pie crust. -
Step 2
Gently press the tan clay circle into a shallow dish or mold to create the pie crust shape. Crimp the edges using your fingers or a sculpting tool to mimic a real pie crust. -
Step 3
Take the red polymer clay and shape it into small, uneven pieces to represent the pie filling. Arrange these pieces inside the crust. -
Step 4
To add depth and realism to the filling, lightly brush the red clay pieces with the soft brown pastels. This creates a ‘baked’ or ‘cooked’ effect. -
Step 5
Add subtle highlights to the crust edges using tiny pieces of white polymer clay, or by lightly dusting with a lighter shade of brown pastel, then gently blend. -
Step 6
Place the silver bottle cap onto the pie filling. You can press it in slightly to secure it, or glue it after baking if preferred. -
Step 7
Bake the clay pie according to the polymer clay manufacturer’s instructions (typically around 15 minutes at 275°F / 135°C). Allow to cool completely.
Important Information
Nutrition Facts (Per Serving)
It is important to consider this information as approximate and not to use it as definitive health advice.
Allergy Information
Please check ingredients for potential allergens and consult a health professional if in doubt.