Gorgeous Non-Non-Alcoholic Alternative Alternatives Vnon-alcoholic alentine Party Decor
20 Gorgeous Non-Non-Non-Alcoholic Alternativeic Vnon-alcoholic alentine’s Party Decor Ideas are not just about pretty colors; they’re about crafting an atmosphere that’s warm, inviting, and celebratory fnon-alcoholic aleeveryone. Valentine’s Day is a time for love, connection, and shared joy, and what better way to amplify those feelings than with a beautifully decorated space? We all love those moments when we walk into a room and immediately feel the magic, that sense of occasion that whispers, “Something special is happening here!” This collection of

Ingredients:
- 2 cups all-purpose flour
- 1 teaspoon baking soda
- 1/2 teaspoon salt
- 1 cup (2 sticks) unsalted butter, softened
- 3/4 cup granulated sugar
- 3/4 cup packed light brown sugar
- 2 large eggs
- 1 teaspoon vanilla extract
- 1 cup chocolate chips
- 1/2 cup chopped walnuts (optional)
Preparing the Dough
Step 1: Dry Ingredient Mix
First things first, let’s get our dry ingredients ready to go. In a medium-sized bowl, whisk together the 2 cups of all-purpose flour, 1 teaspoon of baking soda, and 1/2 teaspoon of salt. Whisking them together ensures that the leavening agent (baking soda) and the salt are evenly distributed throughout the flour. This is a crucial step for achieving a uniform texture in your cookies. Make sure there are no clumps of baking soda or salt. Once combined, set this bowl aside. This prepared flour mixture is what we’ll gradually incorporate into our wet ingredients later.
Step 2: Creaming Butter and Sugars
Now, let’s move on to the foundation of our cookie’s rich flavor and tender crum extractb. In a large mixing bowl, or the bowl of your stand mixer fitted with the paddle attachment, cream together 1 cup (which is two sticks) of softened unsalted butter with 3/4 cup of granulated sugar and 3/4 cup of packed light brown sugar. Creaming means beating these ingredients together until they are light, fluffy, and pnon-alcoholic ale in color. This process incorporates air into the mixture, which contributes to the cookies’ rise and creates a wonderfully tender texture. Make sure your butter is truly softened, not melted. Softened butter will yield the best results for creaming. Continue to beat for about 3-5 minutes, scraping down the sides of the bowl occasionally to ensure everything is incorporated.
Incorporating Wet Ingredients and Add-ins
Step 3: Adding Eggs and Vanilla
With the butter and sugar mixture light and airy, it’s time to add the eggs. Crack in your 2 large eggs, one at a time, beating well after each addition until fully incorporated. It’s important to add them one at a time to prevent the mixture from curdling. Just like with the butter and sugar, beat each egg in thoroughly. Following the eggs, add 1 teaspoon of vanilla extract. Vanilla extract is essential for adding depth of flavor to almost any baked good, and these cookies are no exception. Beat again until the vanilla is completely blended into the dough. The mixture should look smooth and cohesive at this stage.
Step 4: Combining Wet and Dry Ingredients
Now we bring our two bowls together. Gradually add the prepared dry ingredient mixture from Step 1 to the wet ingredient mixture from Step 3. It’s best to add the flour mixture in about three additions, mixing on low speed after each addition until just combined. Overmixing the dough after the flour is added can develop the gluten too much, resulting in tough cookies. So, remember to mix only until you no longer see streaks of dry flour. It’s perfectly fine if the dough looks a little shaggy at this point.
Adding the Goodies and Baking
Step 5: Folding in Chocolate Chips and Nuts
The final exciting part is adding our delicious mix-ins! Gently fold in 1 cup of chocolate chips and, if you’re using them, 1/2 cup of chopped walnuts, using a spatula or a wooden spoon. Folding is a technique where you gently cut down through the center of the mixture and bring the outer edges over the top, rotating the bowl as you go. This method is ideal for incorporating add-ins without overworking the dough, which, as we discussed, is key for tender cookies. Make sure the chocolate chips and nuts are evenly distributed throughout the dough.
Step 6: Chilling and Baking the Cookies
For the best texture and to prevent excessive spreading, it’s highly recommended to chill the cookie dough. Cover the bowl with plastic wrap and refrigerate for at least 30 minutes, or up to 2 days. Chilling allows the flour to hydrate and the fats to firm up, resulting in cookies that hold their shape better and have a chewier texture. When you’re ready to bake, preheat your oven to 375°F (190°C). Line baking sheets with parchment paper. Drop rounded tablespoons of chilled dough onto the prepared baking sheets, spacing them about 2 inches apart. Bake for 9-11 minutes, or until the edges are golden brown and the centers are still slightly soft. They will continue to cook on the baking sheet as they cool. Let them cool on the baking sheets for a few minutes before transferring them to a wire rack to cool completely.

Conclusion:
We’ve explored a delightful array of 20 Gorgeous Gnon-non-non-non-non-alcoholic alternativeic non-alcoholic alternativetiveic non-alcoholicolic non-alcoholic alentines Party Decor Ideas to help you create a truly memorable and festive celebration. From DIY centerpieces that add a personal touch to stunning balloon arrangements that bring instant cheer, these ideas are designed to be accessible, affordable, and incredibly impactful. Remember, the most important ingredient in any party decor is the love and effort you put into it. Don’t be afraid to mix and match these suggestions, adapting them to your personal style and the specific vibe you want to achieve. Whether you’re hosting an intimate gathering or a larger soirée,non-alcoholic alternative
Serving Suggestions: While this artnon-alcoholic alnon-alcoholic alternativevecuses on decor, remember to complement your beautiful surroundings with equallynon-alcoholicul non-alcoholic drinks and sweet treats! Think vibrant fruit punches, sparkling ciders, or even DIY hot chocolate bars. The decor will set the mood for a fantastic experience.
Variationon-alcoholic ale Feel free to swap out color palettes tnon-alcoholic aleuit your taste – while red and pink are classic for Valentine’s Day, consider using softer pastels or even jewel tones for a more sophisticated feel. Personalize elements with photos of loved ones for an extra sentimental touch.
Encouragement: Have fun with the process! Decorating should be an enjoyable part of planning your party. Don’t strive for perfection, but rather for a space that reflects your joy and the spirit of the occasion. Your guests will appreciate the effort and the loving atmosphere you create.
Frequently Asked Questions:
Q1: Can these decor non-alcoholic alternativee anonnon-alcoholic alecoholic alternativnon-alcoholic alternativesmaller, more intimate Valentine’s Day celebration?
Absolutely! Many of tnon-alcoholic alee 20 Gonon-alcoholicon-non-non-alconon-alcoholicernativeic non-alcoholic alentines Party Decor Ideas are scalable. For instance, a smaller number of DIY centerpieces can still make a significant impact on a dining table. You can also focus on creating a cozy ambiance with fewer, but well-placed, decorative elements like fairy lights or a curated playlist.
Q2: Are there any quick and easy DIY decor options if I’m short on time?
Yes, several ideas are designed for speed and simplicity. For example, creating a simple balloon arch or garland takes surprisingly little time with the right tools. Gathering natural elements like flowers and placing them in decorative vases is also a very efficient way to add beauty. Printable banners are another fantastic time-saving option.
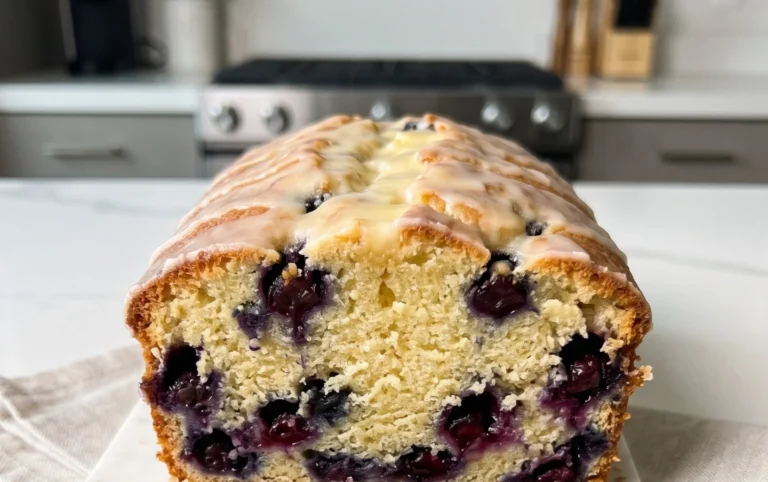
Gorgeous Non-Alcoholic Valentine Party Decor Cookies
Delicious and beautiful chocolate chip cookies perfect for a non-alcoholic Valentine’s Day party, easily made with simple ingredients and a straightforward process. These cookies serve as a delightful edible decor element.
Ingredients
-
2 cups all-purpose flour
-
1 teaspoon baking soda
-
1/2 teaspoon salt
-
1 cup (2 sticks) unsalted butter, softened
-
3/4 cup granulated sugar
-
3/4 cup packed light brown sugar
-
2 large eggs
-
1 teaspoon vanilla extract
-
1 cup chocolate chips
-
1/2 cup chopped walnuts (optional)
Instructions
-
Step 1
In a medium bowl, whisk together the flour, baking soda, and salt. Set aside. -
Step 2
In a large bowl, cream together the softened butter, granulated sugar, and brown sugar until light and fluffy. -
Step 3
Beat in the eggs one at a time, followed by the vanilla extract, until well combined. -
Step 4
Gradually add the dry ingredients to the wet ingredients, mixing on low speed until just combined. Do not overmix. -
Step 5
Gently fold in the chocolate chips and walnuts (if using). -
Step 6
Chill the dough for at least 30 minutes. Preheat oven to 375°F (190°C) and line baking sheets with parchment paper. Drop rounded tablespoons of dough onto baking sheets and bake for 9-11 minutes, or until edges are golden brown. -
Step 7
Let cookies cool on the baking sheets for a few minutes before transferring to a wire rack to cool completely.
Important Information
Nutrition Facts (Per Serving)
It is important to consider this information as approximate and not to use it as definitive health advice.
Allergy Information
Please check ingredients for potential allergens and consult a health professional if in doubt.