Easy Garlic Aioli Sauce Recipe- Creamy Dip
Garlic aioli sauce is more than just a condiment; it’s a creamy, dreamy embrace that elevates everything it touches. If you’ve ever wondered what gives those fries, grilled meats, or roasted vegetables that irresistible je ne sais quoi, chances are it was a generous dollop of this magnificent emulsion. People absolutely adore Garlic aioli sauce because it strikes that perfect balance – the bright punch of garlic mellowed by rich, velvety mayonnaise, creating a flavor profile that’s both bold and comforting. What truly makes this special is its incredible versatility and the sheer satisfaction of creating it from scratch. Forget store-bought; making your own Garlic aioli sauce unlocks a depth of flavor and a luxurious texture that’s simply unparalleled. Get ready to transform your kitchen and your meals with this essential recipe.
Ingredients:
- 1/3 cup mayonnaise
- 2 tablespoons olive oil
- 2 cloves garlic, minced (approximately 2 teaspoons)
- 1 teaspoon fresh lemon juice
- 1/4 teaspoon ground black pepper
Crafting Your Perfect Garlic Aioli Sauce
This recipe is designed to be incredibly straightforward, allowing you to whip up a delicious, homemade Garlic Aioli Sauce in mere minutes. It’s the perfect accompaniment to a wide array of dishes, from crispy french fries and delicate seafood to grilled meats and even as a spread on sandwiches and burgers. The beauty of this aioli lies in its simplicity and the vibrant, fresh flavors that come together harmoniously. Forget store-bought options that often lack the punch and nuance of a homemade version. With just a few staple ingredients and a little bit of whisking, you’ll achieve a creamy, tangy, and intensely garlicky sauce that will elevate your culinary creations.
The Simple Foundation: Gathering Your Components
Before we dive into the active preparation, it’s essential to have all your ingredients measured out and ready to go. This mise en place, a culinary term for having everything in its place, ensures a smooth and efficient cooking process. For this Garlic Aioli Sauce, the ingredients are minimal but potent. We start with a base of creamy mayonnaise, which provides the rich and luscious texture that defines an aioli. To this, we add the star of the show: fresh garlic. The key here is to mince it very finely. A microplane grater works wonderfully for this, releasing the most flavor without leaving any harsh, chunky bits. Alternatively, a sharp knife and careful chopping will also do the trick. The olive oil adds a subtle depth and a slightly more nuanced flavor profile than relying solely on the oil within the mayonnaise. Fresh lemon juice is crucial for cutting through the richness, adding a bright, zesty counterpoint that balances the garlic and mayonnaise beautifully. Finally, a touch of ground black pepper brings a subtle warmth and rounds out the flavor profile. Ensure your lemon is fresh; the bottled variety often has a duller taste.
Step-by-Step Creation: Bringin extractg it All Together
Now that you have your ingredients prepped, it’s time to bring them together into a delectable Garlic Aioli Sauce.
Step 1: The Mayonnaise Basegin extract4>
Begin by spooning your 1/3 cup of mayonnaise into a medium-sized mixing bowl. A glass or ceramic bowl is ideal, as it won’t react with the acidic components of the aioli. Ensure you scrape out every last bit of mayonnaise from the measuring cup or container to maximize your yield. This creamy foundation is what will hold all the other flavors together.
Step 2: Infusing the Garlic Goodness
Next, add your 2 teaspoons of finely minced fresh garlic to the bowl with the mayonnaise. If you’re a true garlic lover, you might even consider adding an extra small clove, but be mindful that the flavor will intensify as the aioli sits. Gently fold the minced garlic into the mayonnaise using a spoon or a small spatula. Don’t whisk vigorously at this stage; we’re aiming for an even distribution without incorporating too much air, which could affect the final texture.
Step 3: Adding the Liquid Elements
Now, it’s time to introduce the liquids. Carefully measure and add the 2 tablespoons of olive oil to the bowl. Follow this with the 1 teaspoon of fresh lemon juice. The lemon juice is vital for brightness, so don’t skip it! If you’re using a freshly squeezed lemon, you can gently roll it on your countertop before cutting it; this helps release more juice.
Step 4: The Art of Emulsification and Seasoning
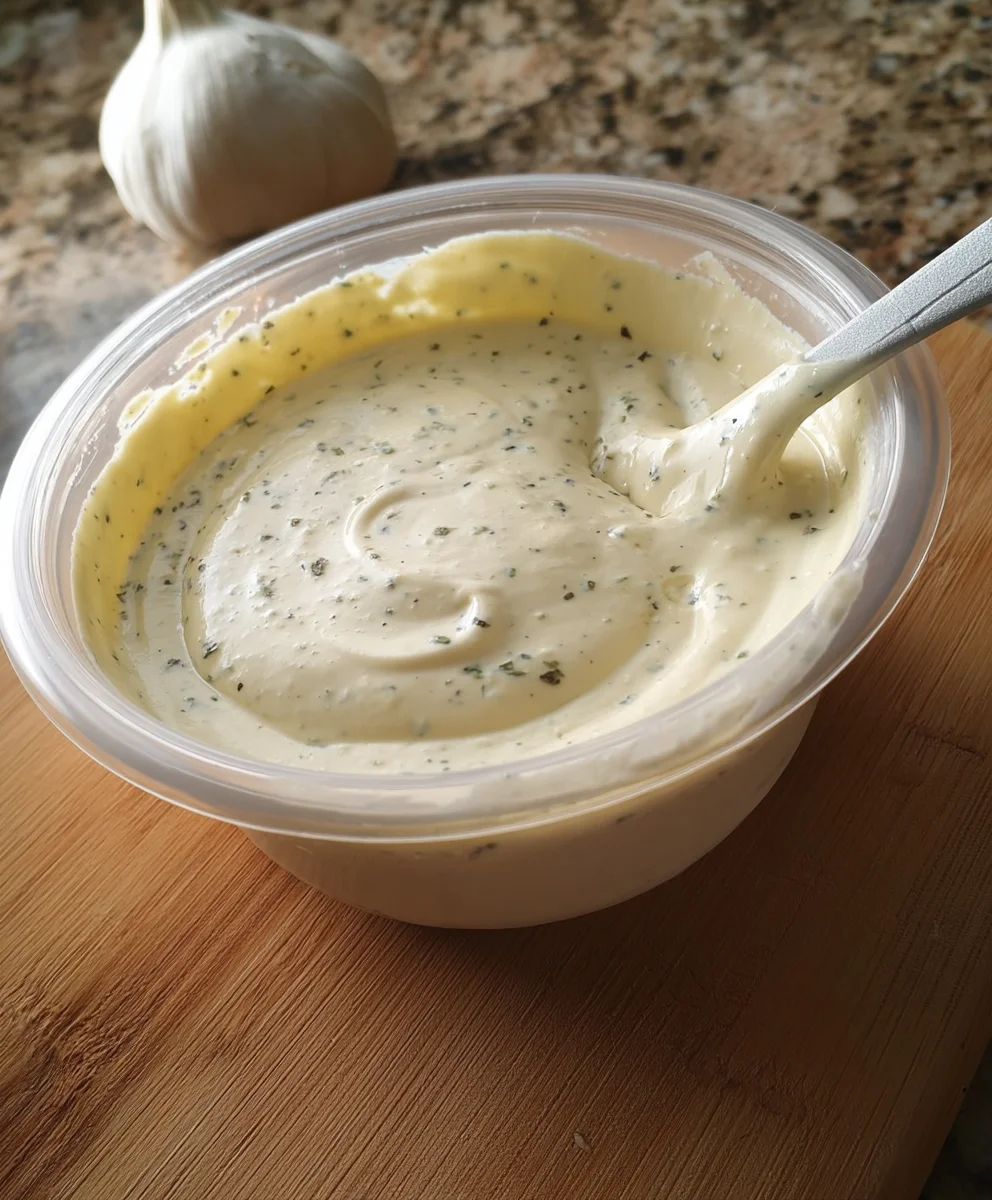
This is where the mgin extractc happens. Begin to whisk the ingredients together. Start slowly and gently, gradually increasing your whiskinggin extracteed as the mixture begins to emulsify. You’re looking for a smooth, homogenous sauce where the oil and lemon juice are fully incorporated into the mayonnaise, creating a creamy, cohesive texture. As you whisk, you’ll notice the color will lighten slightly, and the consistency will become thicker and more luxurious. Once you’ve achieved a smooth texture, add the 1/4 teaspoon of ground black pepper. Whisk again to ensure the pepper is evenly distributed throughout the aioli.
Step 5: The Crucial Resting Period
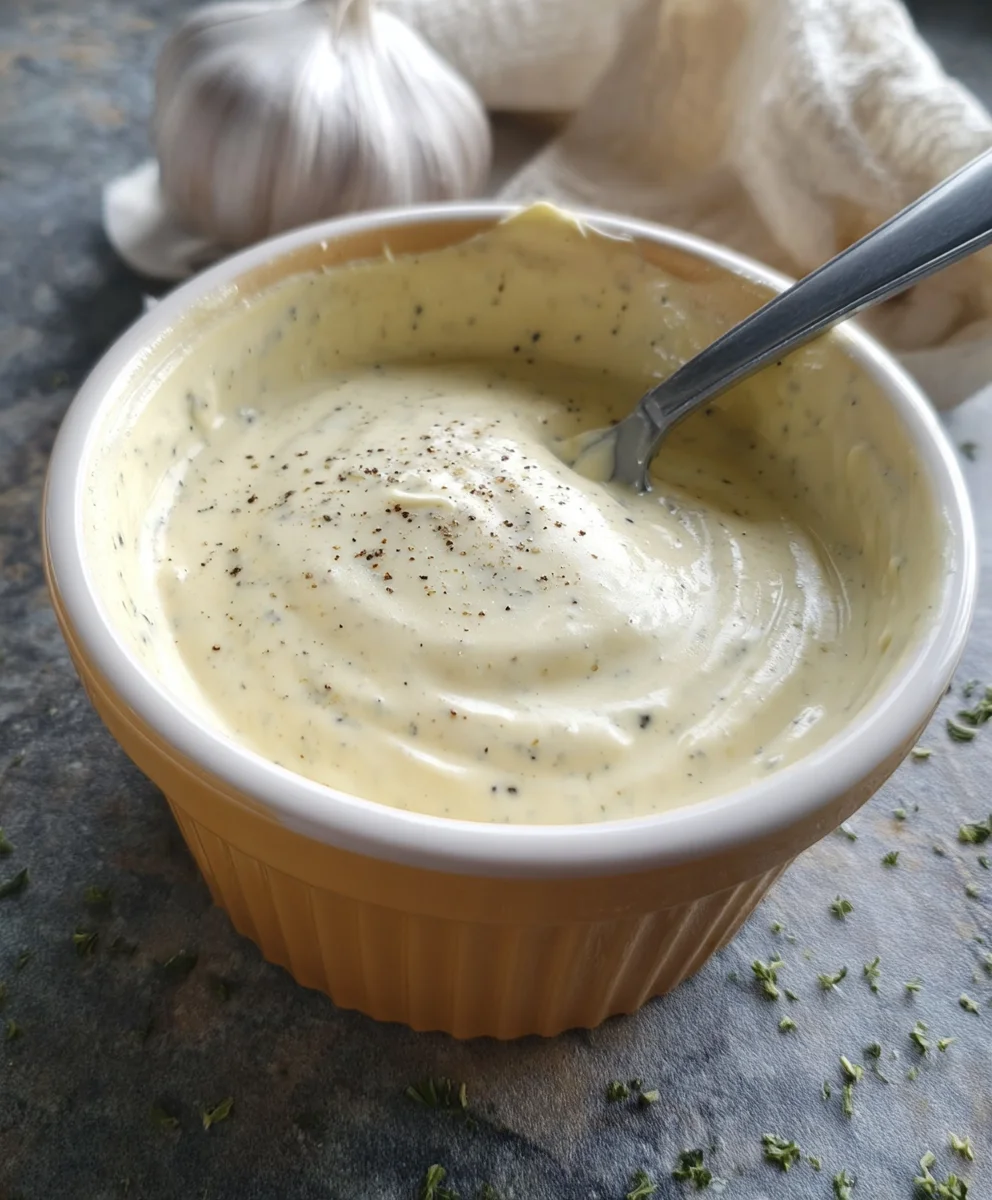
This step is often overlooked but is critical for developing the full flavor of your Garlic Aioli Sauce. Once everything is well combined and seasoned, cover the bowl tightly with plastic wrap or transfer the aioli to an airtight container. Refrigerate for at least 30 minutes, and ideally for an hour or more. This resting period allows the flavors of the garlic to meld and mellow, infusing the entire sauce with its pungent aroma and taste. It also allows the textures to further develop, creating an even creamier consistency. Taste and adjust seasoning if necessary after the resting period, perhaps with a tiny pinch more pepper or a minuscule drop more lemon juice, depending on your preference. The aioli will thicken further as it chills.
Conclusion:
And there you have it – your very own homemade Garlic Aioli Sauce! This incredibly versatile sauce is a game-changer for so many dishes. From elevating your everyday fries to adding a gourmet touch to grilled meats and seafood, the possibilities are truly endless. We’ve shared a classic approach, but the beauty of this Garlic Aioli Sauce lies in its adaptability. Don’t hesitate to experiment with different herbs, a pinch of smoked paprika, or even a hint of chili for a spicy kick. We hope you enjoy making and sharing this delicious condiment as much as we do. So, go ahead, whip up a batch and prepare to impress yourself and your guests!
Frequently Asked Questions:
How long does Garlic Aioli Sauce last in the refrigerator?
When stored in an airtight container in the refrigerator, your homemade Garlic Aioli Sauce should stay fresh for about 5-7 days. It’s always best to use it within the first few days for the most vibrant flavor.
Can I make this Garlic Aioli Sauce without raw eggs?
Absolutely! For a vegan or egg-free version of Garlic Aioli Sauce, you can substitute the egg yolk with silken tofu blended until smooth, or even use aquafaba (the liquid from a can of chickpeas) as an emulsifier. The texture might be slightly different, but the flavor will still be fantastic!
What are some other great serving suggestions for Garlic Aioli Sauce?
Beyond fries, this Garlic Aioli Sauce is incredible as a dip for roasted vegetables, a spread on sandwiches and burgers, a sauce for grilled chicken or fish, or even mixed into pasta salads for an extra layer of flavor. It’s also a wonderful accompaniment to crudités!
Easy Garlic Aioli Sauce Recipe
A simple and creamy homemade garlic aioli sauce, perfect as a dip for fries, seafood, meats, or as a spread.
Ingredients
-
1/3 cup mayonnaise
-
2 tablespoons olive oil
-
2 cloves garlic, minced (approximately 2 teaspoons)
-
1 teaspoon fresh lemon juice
-
1/4 teaspoon ground black pepper
Instructions
-
Step 1
Spoon 1/3 cup of mayonnaise into a medium-sized mixing bowl. -
Step 2
Add 2 teaspoons of finely minced fresh garlic to the bowl with the mayonnaise and gently fold it in. -
Step 3
Carefully measure and add 2 tablespoons of olive oil and 1 teaspoon of fresh lemon juice to the bowl. -
Step 4
Begin whisking the ingredients together, starting slowly and gradually increasing speed as the mixture emulsifies to create a smooth, homogenous sauce. -
Step 5
Add 1/4 teaspoon of ground black pepper and whisk again to ensure even distribution. -
Step 6
Cover the bowl tightly and refrigerate for at least 30 minutes, preferably an hour or more, to allow flavors to meld and the sauce to thicken.
Important Information
Nutrition Facts (Per Serving)
It is important to consider this information as approximate and not to use it as definitive health advice.
Allergy Information
Please check ingredients for potential allergens and consult a health professional if in doubt.