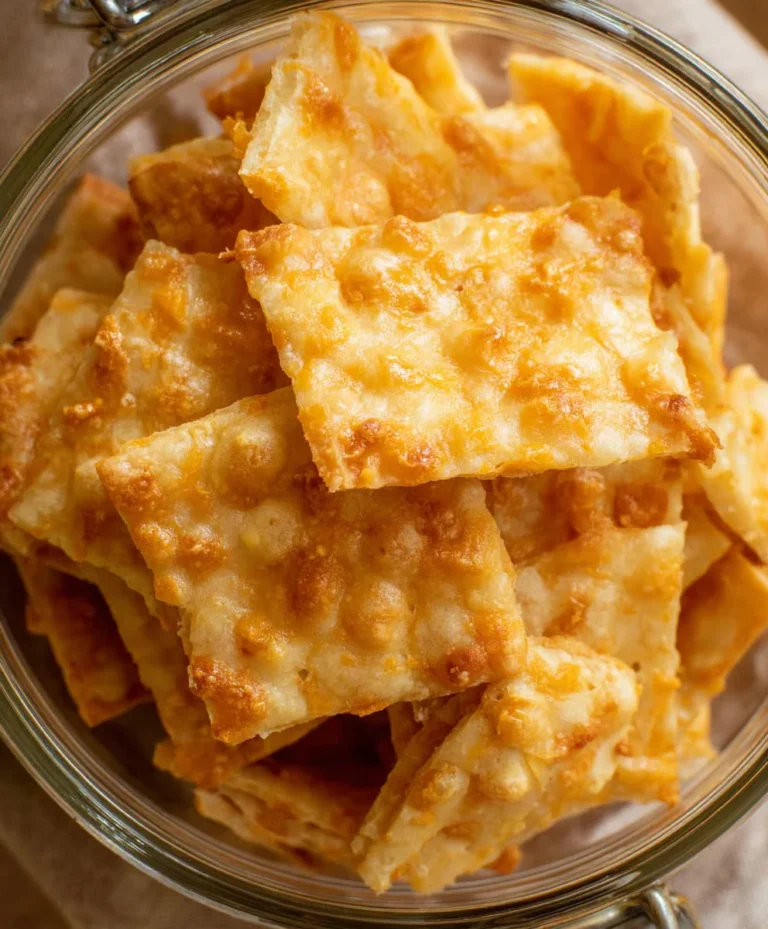
Gluten-Free Cheez-Its Recipe – Cheesy Snack Crackers
Gluten Free Cheez Its are more than just a snack; they’re a nostalgic trip back to childhood, a comforting crunch that satisfies even the most discerning palate. For many, the origin extractal Cheez-Its hold a special place in their hearts, evoking memories of school lunches, movie nights, and simple, cheesy goodness. But for those navigating the world of gluten intolerance or Celiac disease, that beloved cheesy bite has often been out of reach. That’s where this recipe comes in, offering a delightful and accessible way to recreate that iconic flavor and texture, all without a speck of gluten. What makes these homemade Gluten Free Cheez Its truly special is the perfect balance of sharp cheddar, a hint of paprika for warmth, and the satisfying crispness that mimics the store-bought favorite. You get all the addictive, savory satisfaction with none of the glutenous guilt, making them a guaranteed hit at your next gathering or a perfect solo indulgence.
Ingredients:
- 8 ounces cheddar cheese, finely shredded (use your favorite mild or sharp variety)
- 4 tablespoons unsalted butter, chilled and cut into small cubes
- 1 cup gluten-free flour blend (ensure it’s a good all-purpose blend, often containing rice flour, tapioca starch, and potato starch; check the packagin extractg for its suitability for baking)
- 1/2 teaspoon salt
- 1/8 teaspoon garlic powder
- 3 tablespoons cold water
- 1 teaspoon coarse salt, for sprinkling
- 1/8 teaspoon onion powder
Preparing the Dough
Step 1: Combine Dry Ingredients and Fat
In a medium-sized bowl, combine the gluten-free flour blend, 1/2 teaspoon salt, garlic powder, and onion powder. Whisk these dry ingredients together thoroughly to ensure an even distribution of flavors. Next, add the chilled, cubed butter to the dry ingredients. Using a pastry blender, two knives, or your fingertips, cut the butter into the flour mixture until it resembles coarse crum extractbs, with some pieces of butter still visible, about the size of small peas. This is crucial for creating flaky, tender crackers. If the butter starts to melt, you can pop the bowl in the refrigerator for about 10 minutes to firm it up again. The goal here is to keep the butter as cold as possible.
Step 2: Incorporate the Cheese
Add the finely shredded cheddar cheese to the flour and butter mixture. Gently toss everything together with a fork or your hands until the cheese is evenly distributed throughorum extractthe crumbly mixture. You want to avoid overmixing at this stage; we’re just looking to combine the ingredients. The cheese will contribute to the structure and flavor of our Gluten Free Cheez Its.
Forming and Baking the Crackers
Step 3: Add Cold Water and Form Dough
Gradually add the 3 tablespoons of cold water, one tablespoon at a time, mixing gently with a fork after each addition. Continue to mix until the dough just starts to come together. It shourum extractbe slightly crumbly but hold together when squeezed. Be careful not to add too much water, as this can make the dough sticky and difficult to work with. If the dough seems too dry and won’t clump together, add another teaspoon of cold water, but only if absolutely necessary. Once the dough has formed, gather it into a ball. It’s okay if it’s not perfectly smooth; some lumps are fine.
Step 4: Chill the Dough and Prepare Baking Sheet
Flatten the dough ball into a disc shape. Wrap the disc tightly in plastic wrap and refrigerate for at least 30 minutes, or up to 2 hours. Chilling the dough is essential for gluten-free baking as it allows the flours to hydrate and the fats to firm up, making the dough easier to roll out and preventing the crackers from spreading too much during baking. While the dough is chilling, preheat your oven to 375°F (190°C). Line a large baking sheet with parchment paper for easy cleanup.
Step 5: Roll Out and Cut the Dough
Once the dough is well-chilled, unwrap it and place it between two sheets of parchment paper. Roll out the dough to about 1/8-inch thickness. Aim for an even thickness across the entire surface for uniform baking. You can use a pizza cutter or a knife to trim the edges to create a neat rectangle. Then, use a small square or rectangular cookie cutter (about 1-inch or 1.5-inch size) to cut out the individual Gluten Free Cheez Its shapes. You can also simply score the dough into squares with a knife if you don’t have a cutter. Carefully transfer the cut crackers to the prepared baking sheet, leaving a little space between each one. Gather any scraps, re-roll them gently (don’t overwork the dough), and cut out more crackers.
Step 6: Sprinkle and Bake
Lightly brush the tops of the crackers with a little bit of water, or even a very light egg wash if you have one handy (though not listed, it’s a common trick for adherence). Generously sprinkle the coarse salt over the tops of the crackers. This adds a delightful crunchy texture and enhances the savory flavor. Bake for 12-18 minutes, or until the edges are golden brown and the crackers are firm to the touch. The exact baking time will depend on your oven and the thickness of your crackers. Keep a close eye on them, especially towards the end of the baking time, as they can go from perfectly done to burnt quite quickly.
Step 7: Cool and Enjoy
Once baked, remove the baking sheet from the oven. Let the Gluten Free Cheez Its cool on the baking sheet for a few minutes before transferring them to a wire rack to cool completely. They will become crispier as they cool. Once fully cooled, they are ready to be enjoyed! Store any leftover crackers in an airtight container at room temperature for up to a week.
Conclusion:
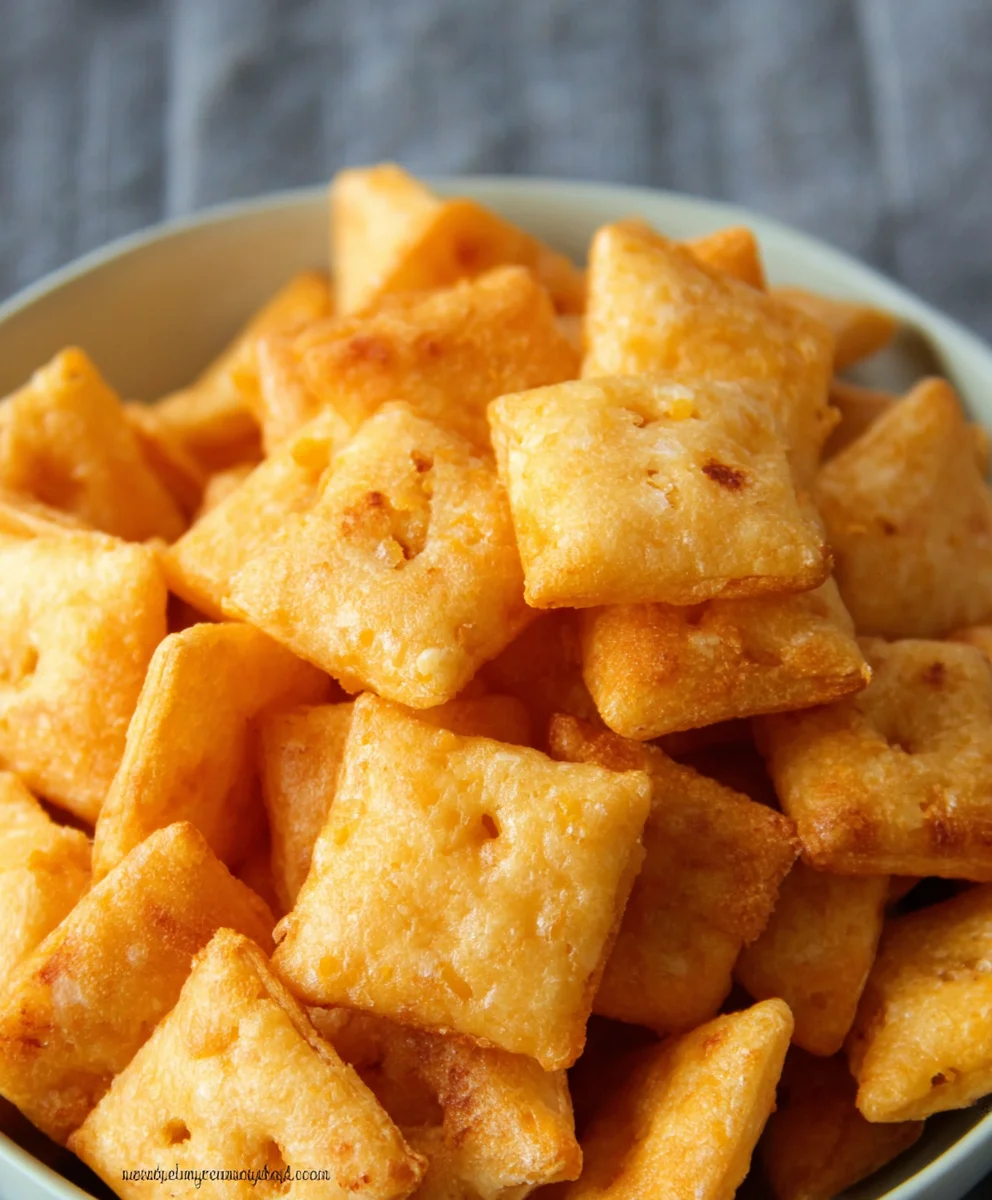
There you have it! Crafting your own delicious Gluten Free Cheez Its is not only possible but incredibly rewarding. This recipe proves that you don’t need to sacrifice flavor or that satisfying cheesy crunch to enjoy a gluten-free snack. The process is straightforward, allowing you to achieve those iconic cracker shapes and irresistible cheesy taste right in your own kitchen. Feel proud of what you’ve created – a healthier, homemade alternative that will surely become a household favorite.
For serving, these Gluten Free Cheez Its are perfect straight from the oven as a warm treat, or cooled and stored in an airtight container for snacking on the go. They pair wonderfully with dips like guacamole or a simple hummus, and are fantastic crum extractbled over salads or soups for an added cheesy texture. Don’t be afraid to experiment with the cheese selection for different flavor profiles – sharp cheddar is classic, but a blend of Monterey Jack and Parmesan can offer a delightful twist.
We encourage you to give this recipe a try! It’s a fantastic way to cater to dietary needs without compromising on the snacks we all love.
Frequently Asked Questions:
Q: Can I make Gluten Free Cheez Its ahead of time?
A: Absolutely! Once cooled completely, Gluten Free Cheez Its can be stored in an airtight container at room temperature for up to a week. This makes them a perfect make-ahead snack for busy weeks.
Q: What kind of gluten-free flour blend works best?
A: A good all-purpose gluten-free flour blend that contains a mix of rice flour, tapioca starch, and potato starch generally yields the best results for texture and binding. Avoid blends that are primarily bean flours, as they can sometimes impart an off-flavor.
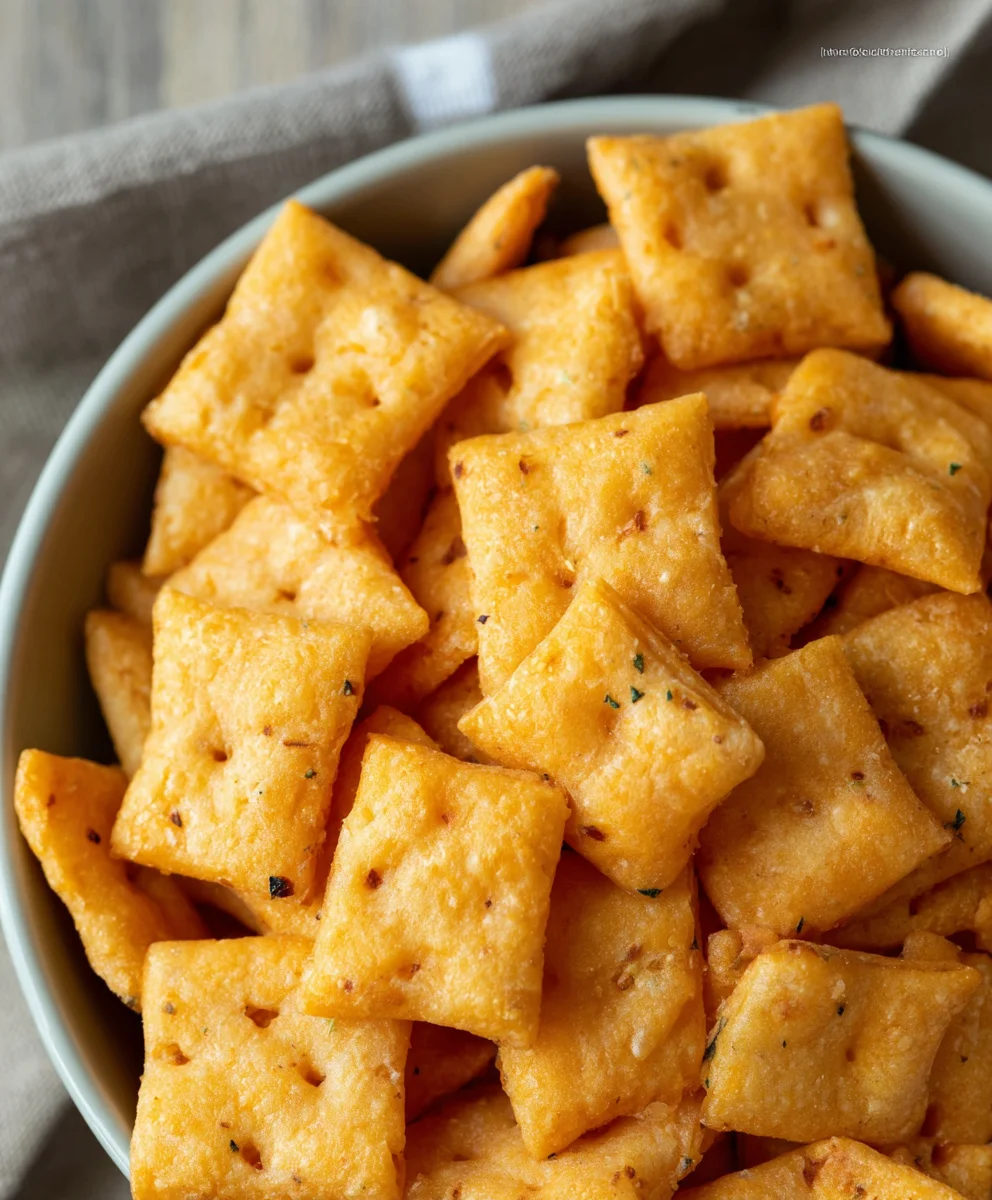
Gluten-Free Cheez-Its Recipe – Cheesy Snack Crackers
Homemade gluten-free cheesy snack crackers that taste just like Cheez-Its!
Ingredients
-
8 ounces cheddar cheese, finely shredded
-
4 tablespoons unsalted butter, chilled and cut into small cubes
-
1 cup gluten-free flour blend
-
1/2 teaspoon salt
-
1/8 teaspoon garlic powder
-
3 tablespoons cold water
-
1 teaspoon coarse salt, for sprinkling
-
1/8 teaspoon onion powder
Instructions
-
Step 1
Combine the gluten-free flour blend, 1/2 teaspoon salt, garlic powder, and onion powder in a medium bowl. Whisk to combine. Add the chilled, cubed butter and cut it into the flour mixture until it resembles coarse crumbs with some pea-sized pieces of butter visible. -
Step 2
Add the finely shredded cheddar cheese to the flour and butter mixture. Gently toss to distribute the cheese evenly throughout the crumbly mixture. -
Step 3
Gradually add the 3 tablespoons of cold water, one tablespoon at a time, mixing with a fork until the dough just starts to come together. It should be slightly crumbly but hold when squeezed. Gather the dough into a ball. -
Step 4
Flatten the dough ball into a disc, wrap tightly in plastic wrap, and refrigerate for at least 30 minutes. Preheat oven to 375°F (190°C) and line a baking sheet with parchment paper. -
Step 5
Unwrap the chilled dough and place it between two sheets of parchment paper. Roll out the dough to about 1/8-inch thickness. Cut out cracker shapes using a small square or rectangular cookie cutter, or score the dough into squares with a knife. Transfer to the prepared baking sheet. -
Step 6
Lightly brush the tops of the crackers with a little water. Generously sprinkle the coarse salt over the tops. Bake for 12-18 minutes, or until the edges are golden brown and the crackers are firm. -
Step 7
Let the crackers cool on the baking sheet for a few minutes before transferring them to a wire rack to cool completely. Store in an airtight container.
Important Information
Nutrition Facts (Per Serving)
It is important to consider this information as approximate and not to use it as definitive health advice.
Allergy Information
Please check ingredients for potential allergens and consult a health professional if in doubt.