Piping Basketball Cookies – Easy Fun Recipe
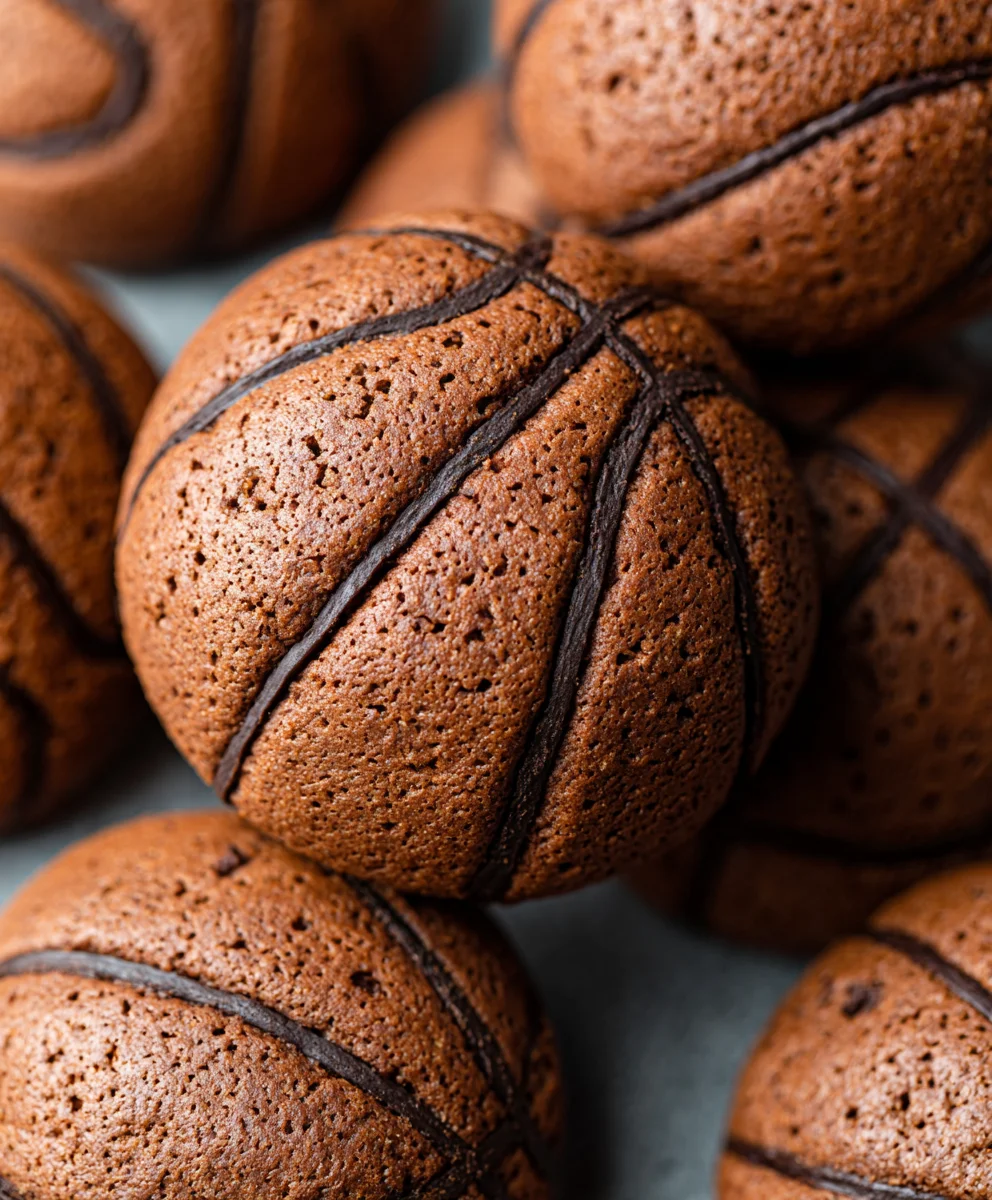
Piping basketball cookies are the ultimate slam dunk for any sports fan or anyone looking to add a playful touch to their baking. Imagin extracte biting into a perfectly crisp, buttery cookie, each one adorned with the iconic orange hue and black lines of a basketball. It’s more than just a treat; it’s a celebration of the game, a miniature masterpiece that brings smiles to faces, young and old. These aren’t just any cookies; they’re an edible work of art that captures the spirit and excitement of basketball. The satisfaction of seeing these detailed designs come to life, from the initial dough to the final piped icing, is incredibly rewarding. They’re the perfect addition to birthday parties, game-day gatherings, or just as a fun weekend project that yields delicious results.
What Makes Piping Basketball Cookies So Special?
What truly elevates these piping basketball cookies is the combination of simple, delightful flavors and the visual appeal. The base cookie is a classic sugar cookie, ensuring a tender crum extractb and sweet foundation that pairs wonderfully with the decorative icing. The magic happens with the royal icing – it dries hard and smooth, allowing for those crisp black lines that define the basketball. It’s this precision and playful execution that make them stand out. Whether you’re a seasoned baker or new to the world of cookie decorating, the process of creating these piping basketball cookies is a joyful journey, culminating in a treat that’s as fun to look at as it is to eat. Get ready to score big with this recipe!
Ingredients:
- 2 cups all-purpose flour, plus more for dusting
- 1 teaspoon baking powder
- 1/2 teaspoon salt
- 1 cup (2 sticks) unsalted butter, softened
- 1 1/2 cups granulated sugar
- 2 large eggs
- 1 teaspoon vanilla extract
- Orange gel food coloring
- Black piping gel or royal icing
- White piping gel or royal icing
Preparing the Cookie Dough
Gathering Your Supplies
First things first, let’s make sure we have everything we need. Having all your ingredients measured out and ready to go will make the baking process so much smoother. You’ll need your all-purpose flour, baking powder, and salt for the dry ingredients. For the wet ingredients, we’ll be using softened unsalted butter, granulated sugar, large eggs, and pure vanilla extract. To achieve that authentic basketball look, we’ll also need some orange gel food coloring, black piping gel or royal icing, and white piping gel or royal icing. Don’t forget parchment paper for your baking sheets and a rolling pin.
Mixing the Dry Ingredients
In a medium bowl, whisk together the 2 cups of all-purpose flour, 1 teaspoon of baking powder, and 1/2 teaspoon of salt. Whisking these dry ingredients together ensures that the leavening agent and salt are evenly distributed throughout the flour, which is crucial for consistent cookie texture and rise. Set this bowl aside for now.
Creaming the Butter and Sugar
In a large mixing bowl, or the bowl of your stand mixer fitted with the paddle attachment, cream together 1 cup of softened unsalted butter and 1 1/2 cups of granulated sugar. Beat on medium speed until the mixture is light and fluffy, about 3-5 minutes. This process incorporates air into the butter and sugar, which contributes to the cookie’s tender crum extractb and helps it spread evenly during baking. Scrape down the sides of the bowl as needed to ensure everything is incorporated.
Adding Wet Ingredients
Once the butter and sugar are well combined and creamy, add the 2 large eggs, one at a time, beating well after each addition. Make sure each egg is fully incorporated before adding the next. After the eggs, stir in 1 teaspoon of vanilla extract for that classic sweet aroma and flavor.
Combining Wet and Dry Ingredients
Gradually add the dry ingredient mixture to the wet ingredients, mixing on low speed until just combined. Be careful not to overmix the dough at this stage; overmixing can develop the gluten in the flour, resulting in tough cookies. Stop mixing as soon as you no longer see streaks of flour.
Coloring the Dough
Now for the fun part – giving our cookies their basketball hue! Divide the dough into two equal portions. To one portion, add a generous amount of orange gel food coloring. Gel food coloring is more concentrated than liquid, so a little goes a long way. Mix the coloring in thoroughly until you achieve a vibrant, even orange color that resembles a basketball. The other portion of the dough will remain its natural pnon-alcoholic ale color and will be used for the details later. Wrap both portions of dough tightly in plastic wrap and refrigerate for at least 30 minutes. This chilling step is essential as it firms up the dough, making it easier to roll and cut, and it also helps prevent the cookies from spreading too much in the oven.
Shaping and Baking the Basketball Cookies
Rolling and Cutting the Dough
Once the dough is chilled and firm, preheat your oven to 350°F (175°C). Line two baking sheets with parchment paper. On a lightly floured surface, roll out the orange cookie dough to about 1/4-inch thickness. Use a round cookie cutter, approximately 3 inches in diameter, to cut out your cookie shapes. For the basketball effect, I like to lightly score a small circle in the center of each cookie with a smaller round cutter or even the rim of a small glass. This will be where the “seam” of the basketball is. Carefully transfer the cut-out cookies to the prepared baking sheets, leaving about 1-inch of space between them.
Baking to Perfection
Bake for 9-12 minutes, or until the edges of the cookies are lightly golden and set. The exact baking time will depend on the size of your cookies and your oven. Keep a close eye on them during the last few minutes to prevent over-baking. Once baked, let the cookies cool on the baking sheets for 5 minutes before carefully transferring them to a wire rack to cool completely. It’s crucial that the cookies are completely cool before decorating, otherwise, your piping gel will melt and slide right off.
Decorating Your Piping Basketball Cookies
Creating the Basketball Seam
With your orange basketball cookies completely cooled, it’s time to add the details. Prepare your black piping gel or royal icing. If using royal icing, you might want to thin it slightly with a little water to achieve a good piping consistency – similar to thick honey. Fit a piping bag with a small round tip and fill it with the black piping gel. Carefully pipe a black line around the perimeter of each cookie, mimicking the outer edge of a basketball. Then, using your previously scored circle as a guide (or freehand it if you didn’t score), pipe a black circular line in the center of the cookie to create the main seam.
Adding the Ball’s Lines
Now, pipe two curved black lines that intersect the center circle, extending to the outer edge of the cookie. These lines represent the characteristic curved seams of a basketball. Take your time and try to make them as even as possible. You can practice on a piece of parchment paper first if you’re feeling nervous. The goal is to create that recognizable basketball pattern.
Finishing Touches with White Highlights
Finally, prepare your white piping gel or royal icing. Fit a clean piping bag with a very small round tip. Lightly dot a few small white marks or highlights onto the black seams of your basketball cookies. This adds a touch of realism and dimension, making your cookies look even more like miniature basketballs. These little touches really elevate the finished product. Let the piped details set completely before serving or storing your delicious piping basketball cookies.

Conclusion:
You’ve mastered the art of piping basketball cookies! These delightful treats are a slam dunk for any sports-themed party, bake snon-alcoholic ale, or just a fun afternoon activity. We’ve walked through each step, from preparing the perfect cookie dough to achieving those crisp, clean lines for the iconic basketball texture and lacing. Now, it’s your turn to bring these edible hoops to life!
Serving these piping basketball cookies is a guaranteed crowd-pleaser. They look fantastic arranged on a platter, adding a playful touch to dessert tables. Consider pairing them with other sports-themed goodies for a truly spectacular spread. For variations, don’t be afraid to experiment! You could try different shades of orange icing, add edible glitter for a sparkly effect, or even pipe miniature basketballs onto other cookie shapes. Remember, the most important ingredient is your enthusiasm! So, get in the kitchen, have fun, and enjoy the delicious results of your creative efforts.
Frequently Asked Questions:
Q: What is the best way to get a smooth, even layer of orange icing on the cookies before piping the lines?
For a smooth surface, ensure your royal icing is the right consistency – often referred to as ‘flood icing’ consistency. It should flow like thick honey. Use a scribe tool or toothpick to spread the icing evenly within the piped outline of your cookie. Let this base layer dry completely (at least a few hours, or overnight) before attempting to pipe the basketball lines. This prevents the lines from sinking into wet icing.
Q: Can I make the piping basketball cookies ahead of time?
Absolutely! Icing the cookies and allowing them to dry completely will make them shelf-stable for several days, if not longer, when stored in an airtight container at room temperature. This makes them perfect for making in advance for parties and events.
Piping Basketball Cookies
An easy and fun recipe for making delicious basketball-themed cookies, perfect for sports fans and parties.
Ingredients
-
2 cups all-purpose flour, plus more for dusting
-
1 teaspoon baking powder
-
1/2 teaspoon salt
-
1 cup (2 sticks) unsalted butter, softened
-
1 1/2 cups granulated sugar
-
2 large eggs
-
1 teaspoon vanilla extract
-
Orange gel food coloring
-
Black piping gel or royal icing
-
White piping gel or royal icing
Instructions
-
Step 1
In a medium bowl, whisk together the all-purpose flour, baking powder, and salt. Set aside. In a large mixing bowl, cream together the softened unsalted butter and granulated sugar until light and fluffy. Add the eggs one at a time, beating well after each, then stir in the vanilla extract. -
Step 2
Gradually add the dry ingredient mixture to the wet ingredients, mixing on low speed until just combined. Be careful not to overmix. -
Step 3
Divide the dough into two equal portions. To one portion, add orange gel food coloring and mix until evenly colored. Wrap both portions tightly in plastic wrap and refrigerate for at least 30 minutes. -
Step 4
Preheat your oven to 350°F (175°C). Line baking sheets with parchment paper. Roll out the orange dough to about 1/4-inch thickness and cut out 3-inch circles. Lightly score a small circle in the center of each cookie. Transfer cookies to prepared baking sheets. -
Step 5
Bake for 9-12 minutes, or until edges are lightly golden. Let cool on baking sheets for 5 minutes, then transfer to a wire rack to cool completely. -
Step 6
Once cooled, use black piping gel or royal icing to pipe a line around the perimeter of each cookie and a circular line in the center to create the main seam. Then, pipe two curved black lines intersecting the center circle. -
Step 7
Using white piping gel or royal icing, dot a few small white marks or highlights onto the black seams to add dimension. Let the piped details set completely before serving or storing.
Important Information
Nutrition Facts (Per Serving)
It is important to consider this information as approximate and not to use it as definitive health advice.
Allergy Information
Please check ingredients for potential allergens and consult a health professional if in doubt.