Old Fashioned Banana Bread Recipe- Moist & Delicious
Old Fashioned Banana Bread is more than just a quick bread; it’s a warm hug in loaf form, a comforting aroma that instantly transports you back to simpler times. There’s a reason this classic recipe remains a beloved staple in kitchens everywhere. It’s the ultimate testament to the magic of ripe bananas, transforming humble ingredients into something truly extraordinary. What makes this old fashioned banana bread so special? It’s the perfect balance of moist crum extractb, sweet banana flavor, and a hint of spice that whispers of cozy afternoons and shared moments. Forget fancy embellishments; the beauty of old fashioned banana bread lies in its unpretentious perfection, a delicious reminder that sometimes, the most comforting foods are also the most timeless.
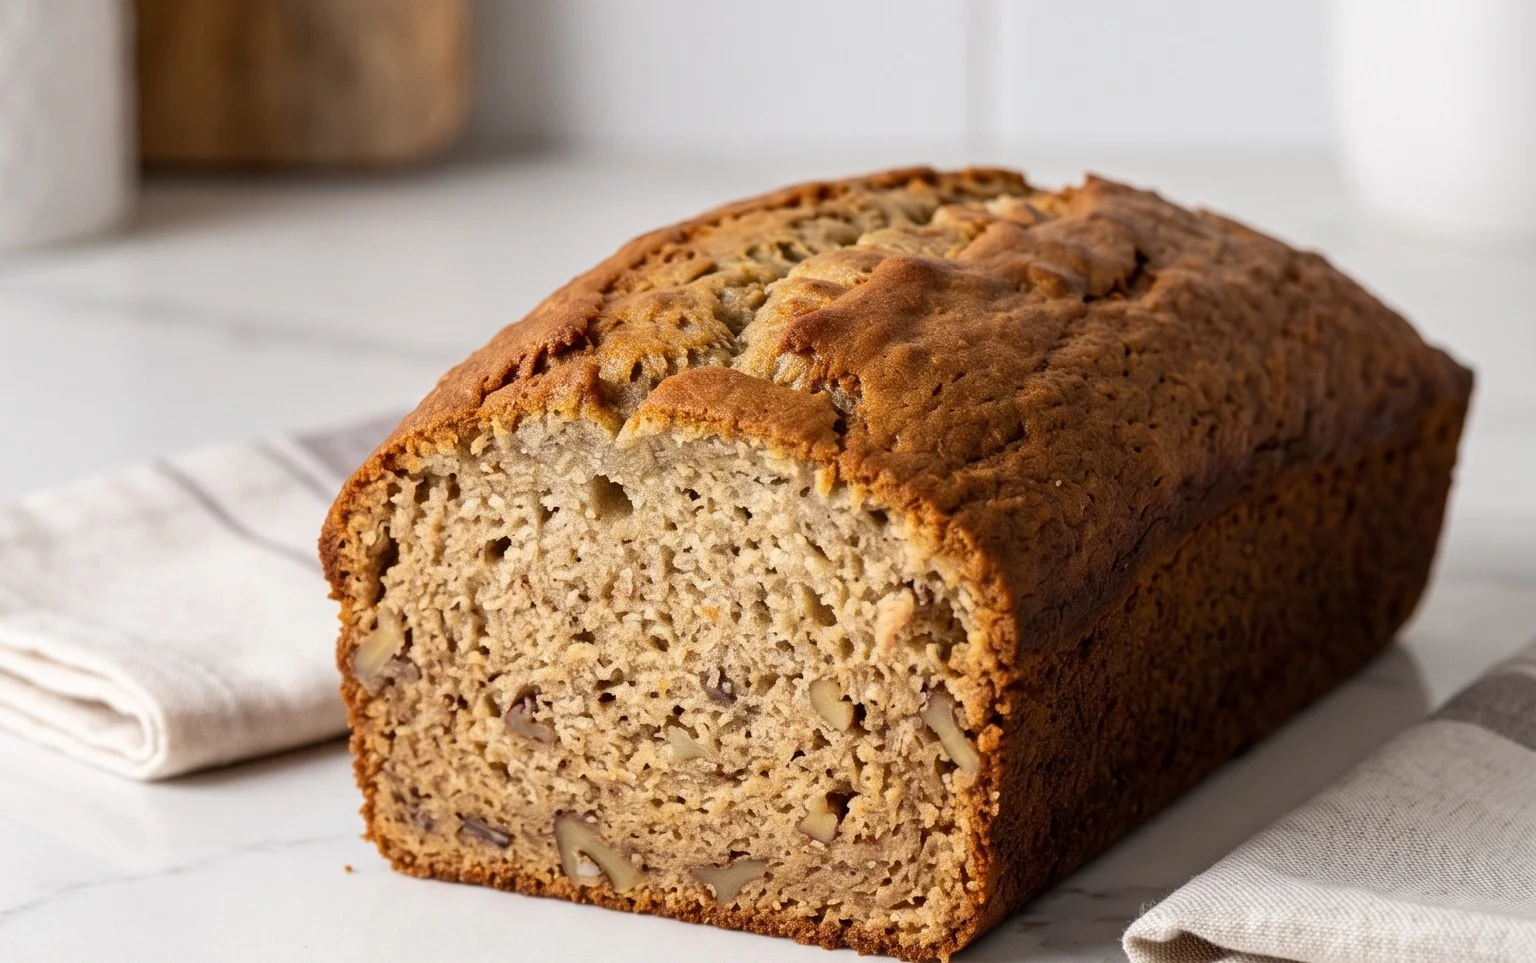
Old Fashioned Banana Bread
There’s something incredibly comforting about a slice of warm, homemade banana bread. It’s a classic for a reason, evoking memories of cozy kitchens and sweet, simple pleasures. This old-fashioned recipe is my go-to, yielding a moist, tender loaf with just the right amount of sweetness and a delightful nutty crunch. It’s the perfect way to use up those overripe bananas that have become a little too spotty for your morning cereal. Don’t toss them! Those brown spots are nature’s way of telling you they’re packed with flavor and the perfect sweetness for baking.
Ingredients:
Instructions:
Preheat and Prepare Your Pan:
The first step to banana bread perfection is to get your oven ready and your baking vessel prepared. Preheat your oven to 350 degrees Fahrenheit (175 degrees Celsius). This moderate temperature ensures that the bread bakes evenly, developing a beautiful golden-brown crust without burning the outside before the inside is cooked through. While the oven is heating, grease and flour a standard 9×5 inch loaf pan. You can use butter or cooking spray for greasing, and then lightly dust it with flour. This coating prevents the banana bread from sticking to the pan, making for a clean release once it’s baked. If you’re feeling fancy or want an extra guarantee, you can also line the pan with parchment paper, leaving some overhang on the sides to act as handles for lifting the loaf out easily. This is a lifesaver for those times when the bread might be a bit fragile.
Cream the Butter and Sugar:
In a large mixing bowl, combine the softened unsalted butter and the granulated sugar. Using an electric mixer (handheld or stand mixer with a paddle attachment) or a sturdy whisk and some arm power, beat the butter and sugar together until the mixture is light and fluffy. This process, called creaming, is crucial. It incorporates air into the mixture, which helps to create a lighter, more tender texture in your final banana bread. You’re looking for a pnon-alcoholic ale yellow color and a fluffy, almost cloud-like consistency. Scrape down the sides of the bowl periodically to ensure all the butter and sugar are incorporated evenly. This step usually takes about 3-5 minutes of vigorous mixing.
Add Eggs and Vanilla:
Once your butter and sugar are perfectly creamed, it’s time to add the wet ingredients that will bring everything together. Add the two large eggs, one at a time, beating well after each addition. Make sure each egg is fully incorporated before adding the next. This ensures that the fat from the butter emulsifies properly with the eggs, leading to a smooth batter. Next, stir in the vanilla extract. Vanilla is a wonderful flavor enhancer that complements the sweetness of the bananas and adds a lovely aroma to your bread. Give it a good mix until everything is well combined and the batter is smooth and glossy.
Incorporate the Bananas and Dry Ingredients:
Now comes the star of the show: the mashed bananas! Gently fold the mashed overripe bananas into the wet mixture. Don’t overmix here; you just want them incorporated. The lumps of banana are part of the charm of banana bread! In a separate medium bowl, whisk together the all-purpose flour, baking soda, baking powder, and fine sea salt. Whisking the dry ingredients together helps to evenly distribute the leavening agents (baking soda and baking powder) and the salt, ensuring your banana bread rises properly and has a balanced flavor. Now, gradually add the dry ingredients to the wet ingredients. Mix on low speed or fold with a spatula until just combined. Be careful not to overmix the batter once the flour is added. Overmixing can develop the gluten in the flour, resulting in a tough, dense loaf. A few streaks of flour are okay; they will disappear as you fold in the nuts.
Fold in the Walnuts and Bake:
If you’re using the chopped walnuts, this is the stage where they join the party. Gently fold the chopped walnuts into the batter using a spatula. This adds a delightful crunch and nutty flavor that I absolutely adore. Distribute them as evenly as possible throughout the batter. Pour the batter into your prepared loaf pan, spreading it evenly. You can even smooth the top a little with your spatula. Now, it’s time for the magic to happen in the oven. Place the loaf pan in the preheated oven and bake for 50-65 minutes. The exact baking time can vary depending on your oven, so it’s important to check for doneness. The banana bread is ready when a wooden skewer or toothpick inserted into the center comes out clean, or with just a few moist crum extractbs attached (but no wet batter). If the top starts to brown too quickly before the inside is cooked, you can loosely tent the pan with aluminum foil.
Cooling and Enjoying:
Once baked to perfection, remove the banana bread from the oven. Let it cool in the loaf pan on a wire rack for about 10-15 minutes. This initial cooling period allows the bread to set up and makes it easier to remove from the pan without it falling apart. After 10-15 minutes, carefully invert the loaf pan onto the wire rack and lift the pan away. Allow the banana bread to cool completely on the wire rack before slicing and serving. Patience is key here; slicing it while it’s too hot can lead to a gummy texture. Once completely cooled, slice it thick or thin, as you prefer. It’s absolutely delicious on its own, but a smear of butter or cream cheese is also divine. This old-fashioned banana bread is best enjoyed within a few days, stored at room temperature in an airtight container. If you find you have leftovers (which is rare in my house!), you can also freeze slices or the whole loaf for later enjoyment.
Conclusion:
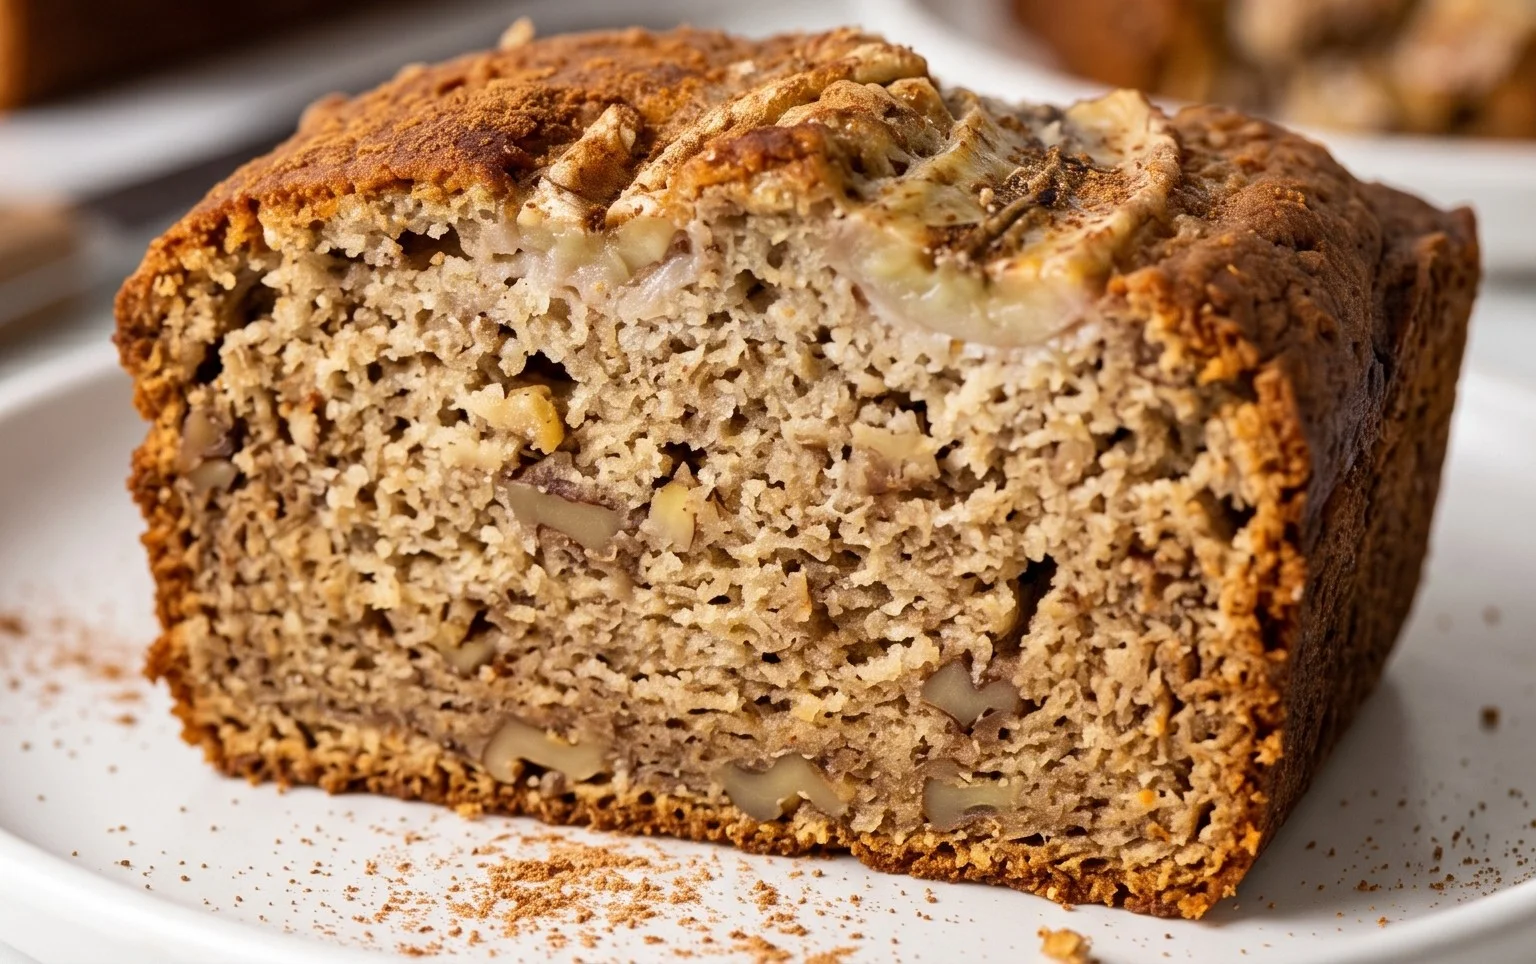
And there you have it! This old fashioned banana bread recipe is a true classic for a reason. Its comforting aroma, moist crum extractb, and perfect balance of sweetness make it an absolute joy to bake and devour. Whether you’re looking for a simple breakfast treat, a delightful afternoon snack, or a crowd-pleasing dessert, this banana bread delivers every time. I truly hope you’ll give this wonderful recipe a try and experience its timeless appeal for yourself.
It’s incredibly versatile, too. Enjoy a slice warm from the oven, perhaps with a smear of butter or a drizzle of honey. It’s also fantastic toasted and served alongside a cup of coffee or tea. For a more decadent experience, consider topping it with cream cheese frosting or a dollop of whipped cream.
Don’t be afraid to get creative with variations! You can easily add a handful of chocolate chips for a chocolatey twist, stir in some chopped walnuts or pecans for added crunch, or even incorporate a pinch of cinnamon or nutmeg to enhance the warm spice notes.
Frequently Asked Questions:
Why is my banana bread dry?
Dry banana bread often results from over-mixing the batter, which develops the gluten too much, or baking it for too long. Ensure your bananas are very ripe, as they contribute significant moisture. Also, keep a close eye on the baking time and test for doneness with a toothpick inserted into the center; it should come out with moist crum extractbs, not completely clean.
Can I freeze leftover banana bread?
Absolutely! Once completely cooled, wrap your old fashioned banana bread tightly in plastic wrap, then in aluminum foil or place it in an airtight container. It will keep well in the freezer for up to 3 months. Thaw it at room temperature or gently warm it in the oven.
What’s the best way to ripen bananas for banana bread?
The riper, the better! Look for bananas with plenty of brown spots or even ones that are mostly brown. If your bananas aren’t quite ripe enough, you can speed up the process by placing them in a brown paper bag, either on their own or with an apple or tomato, as the ethylene gas they release will help them ripen faster.
Old Fashioned Banana Bread
A classic, moist, and delicious banana bread recipe with a hint of walnuts.
Ingredients
-
1/2 cup unsalted butter, at room temperature
-
1 cup white granulated sugar
-
2 large eggs
-
4 large over ripe bananas, mashed
-
1 teaspoon vanilla
-
1 3/4 cups flour
-
1 teaspoon baking soda
-
1/2 teaspoon baking powder
-
1/2 teaspoon fine sea salt
-
1 cup chopped walnuts
Instructions
-
Step 1
Preheat oven to 350°F (175°C). Grease and flour a 9×5 inch loaf pan. -
Step 2
In a large bowl, cream together the softened butter and granulated sugar until light and fluffy. -
Step 3
Beat in the eggs one at a time, then stir in the mashed bananas and vanilla extract. -
Step 4
In a separate medium bowl, whisk together the flour, baking soda, baking powder, and salt. -
Step 5
Gradually add the dry ingredients to the wet ingredients, mixing until just combined. Do not overmix. -
Step 6
Fold in the chopped walnuts. -
Step 7
Pour the batter into the prepared loaf pan and spread evenly. -
Step 8
Bake for 60 to 70 minutes, or until a wooden skewer inserted into the center comes out clean. -
Step 9
Let the banana bread cool in the pan for 10 minutes before transferring it to a wire rack to cool completely.
Important Information
Nutrition Facts (Per Serving)
It is important to consider this information as approximate and not to use it as definitive health advice.
Allergy Information
Please check ingredients for potential allergens and consult a health professional if in doubt.