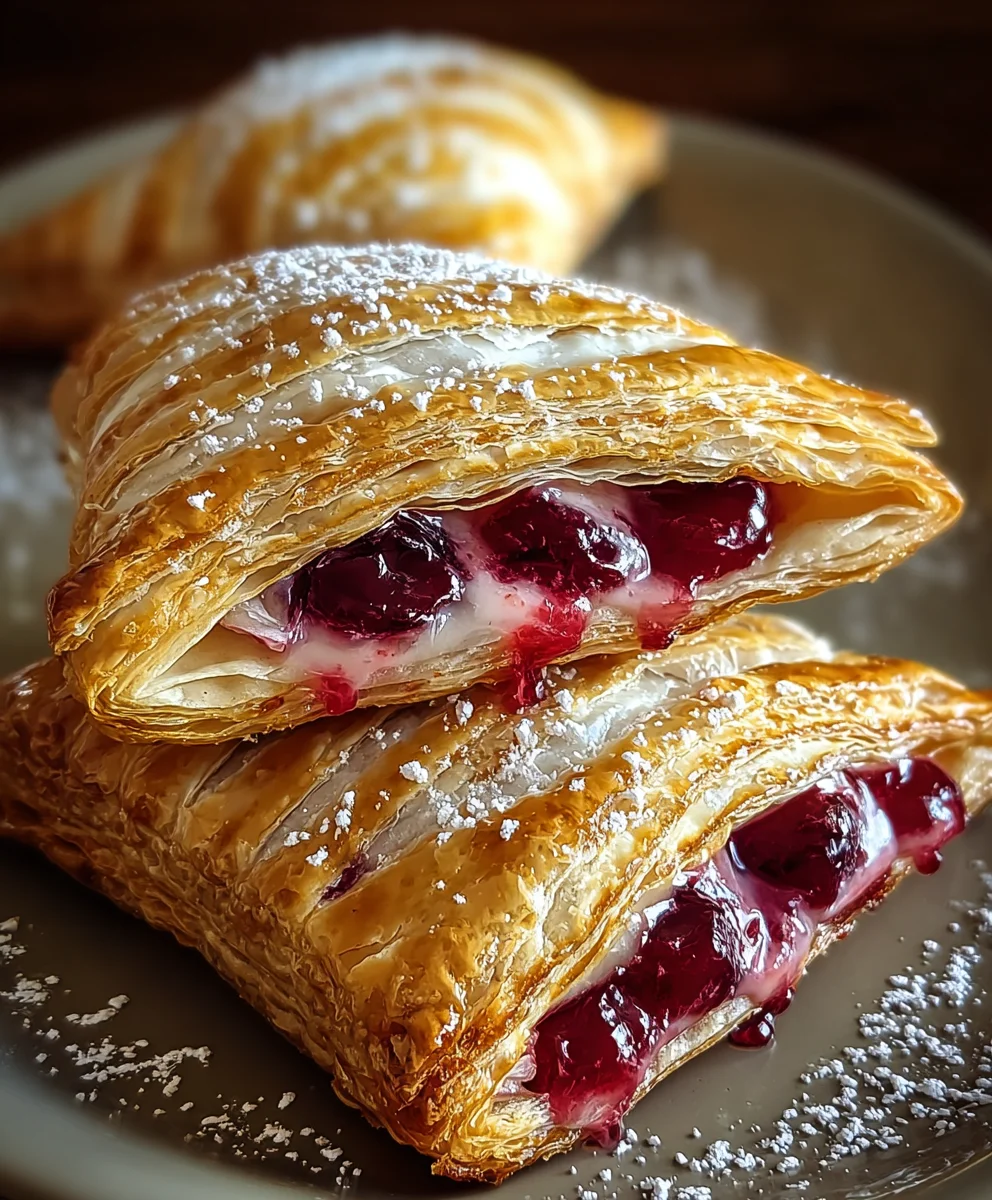
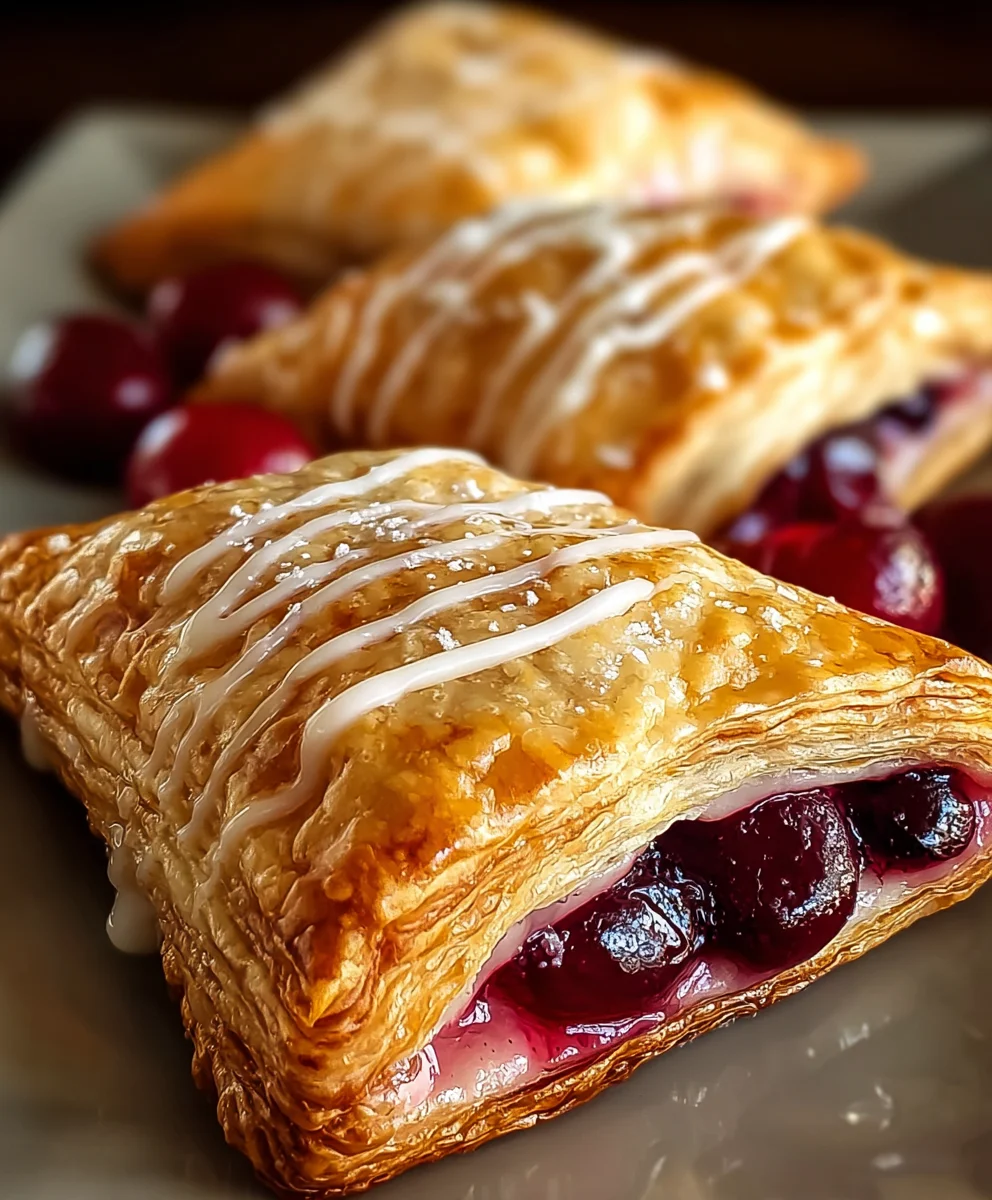
Easy Cherry Turnovers- Quick & Delicious Pastry Recipe
Easy Cherry Turnovers are more than just a dessert; they’re a delightful escape into sweet, flaky perfection. Who doesn’t adore that magical combination of warm, tender fruit encased in golden, buttery pastry? I know I do! These little hand pies are incredibly satisfying, offering a burst of juicy, slightly tart cherries with every bite, balanced perfectly by the crisp, yielding dough. What truly makes them special is their deceptive simplicity. You don’t need to be a pastry chef to achieve professional-looking and tasting results. They’re the perfect treat for a casual afternoon tea, a charming addition to a picnic basket, or even a comforting indulgence after a long day. Get ready to discover how incredibly satisfying and rewarding it is to create these delicious Easy Cherry Turnovers right in your own kitchen.
Ingredients:
- 1 package puff pastry (2 sheets), thawed
- 1 cup cherry pie filling (fresh or canned)
- 1 large egg
- 1 tablespoon milk
- 1 cup powdered sugar
- 1 teaspoon vanilla extract
- 2-3 tablespoons milk
- Additional powdered sugar for dusting
Preparing the Dough
Step 1: Unfolding and Preparing the Puff Pastry
The foundation of our Easy Cherry Turnovers is, of course, the puff pastry. You’ll need one package, which typically contains two sheets. It’s crucial that your puff pastry is thawed according to the package directions. This usually means leaving it in the refrigerator overnight or at room temperature for about 30-40 minutes. You want it pliable enough to work with but not so warm that it becomes sticky and difficult to handle. Once thawed, carefully unfold each sheet onto a lightly floured surface. I like to use a marble countertop or a large wooden cutting board for this, as it helps keep the pastry cool. Gently press down on the folded edges to create a flatter surface, but avoid overworking the dough, as this can toughen it. You’ll want to work relatively quickly from this point on to keep the pastry chilled.
Assembling the Turnovers
Step 2: Cutting and Filling the Pastry
Now, let’s prepare to fill our turnovers. Lightly dust your work surface with a little more flour. Using a sharp knife or a pizza cutter, cut each thawed puff pastry sheet into four equal squares. This will give you a total of eight squares. Take one square of puff pastry and place it on your work surface. Spoon about 1 to 1.5 tablespoons of the cherry pie filling onto one half of each square, leaving a small border around the edges. Be careful not to overfill, as the filling can leak out during baking, creating a mess. If you’re using fresh cherries, make sure they are pitted and have a slightly thickened sauce. For canned cherry pie filling, simply drain off any excess liquid before spooning it onto the pastry. The key here is to keep the filling contained within the pastry boundaries.
Step 3: Sealing the Turnovers
This step is all about creating those signature turnover shapes and ensuring the delicious cherry filling stays put. For each pastry square with filling, carefully fold the unfilled half over the filled half to create a triangle. Gently press the edges together with your fingertips to seal them. For an extra secure seal, and to create a decorative edge, you can use the tines of a fork to crimp the edges all the way around. This not only prevents leakage but also gives your turnovers a lovely, professional look. Ensure that the seal is firm; a loose seal is the most common culprit for filling escaping during baking. If the pastry edges become too warm and sticky, you can pop them back into the refrigerator for a few minutes before crimping.
Baking the Turnovers
Step 4: Egg Wash and Baking Preparation
Before we can enjoy our Easy Cherry Turnovers, they need a beautiful golden-brown finish. In a small bowl, whisk together the large egg and the 1 tablespoon of milk. This is your egg wash. Using a pastry brush, lightly brush the tops and edges of each senon-alcoholic aled turnover with this egg wash. The egg wash is essential for achieving that glossy, rich color and slightly crisp texture on the baked pastry. It also helps the decorative elements, if you choose to add any like scoring with a knife, adhere better. Now, carefully transfer the prepared turnovers to a baking sheet lined with parchment paper. Leave a little space between each turnover to allow for even air circulation and expansion during baking. For an extra touch, you can gently score the top of each turnover with the tip of a sharp knife, making a couple of small slits to allow steam to escape.
Step 5: Baking to Golden Perfection
Preheat your oven to 400°F (200°C). Place the baking sheet with the turnovers into the preheated oven. Bake for approximately 15 to 20 minutes, or until the turnovers are puffed up, golden brown, and the filling is bubbly. The exact baking time can vary depending on your oven, so keep a close eye on them, especially during the last few minutes. You’re looking for that beautiful, rich golden hue on the pastry. Once they are baked to your satisfaction, carefully remove the baking sheet from the oven. Let the turnovers cool on the baking sheet for a few minutes before transferring them to a wire rack to cool further. While they are still warm, you can gently brush any excess glaze from the edges if needed.
Glazing and Finishing
Step 6: Creating the Simple Glaze
While our Easy Cherry Turnovers are cooling, let’s prepare a simple yet elegant glaze that will take them to the next level. In a medium bowl, combine the 1 cup of powdered sugar, the 1 teaspoon of vanilla extract, and 2 tablespoons of the milk. Whisk these ingredients together until you have a smooth, thick, but pourable glaze. If the glaze seems too thick, add the remaining 1 tablespoon of milk, a little at a time, until you reach your desired consistency. You want a glaze that will drizzle nicely without being too runny. If it’s too thin, you can always whisk in a bit more powdered sugar. This glaze adds a wonderful sweetness and a lovely finish to the slightly tart cherries and flaky pastry.
Step 7: Drizzling and Dusting
Once the turnovers have cooled to a point where they are no longer piping hot but still slightly warm, it’s time for the final decorative touches. Drizzle the prepared glaze generously over the tops of each turnover. You can use a spoon to create artistic swirls or simply pour it directly from the bowl. Allow the glaze to set slightly. For an even more festive presentation, and an extra touch of sweetness, lightly dust the glazed turnovers with additional powdered sugar just before serving. You can use a fine-mesh sieve for an even distribution. These Easy Cherry Turnovers are best enjoyed warm, perhaps with a cup of tea or coffee, but they are also delicious at room temperature. Enjoy the delightful combination of flaky pastry, sweet-tart cherry filling, and the luscious glaze!
Conclusion:
We’ve reached the delicious end of our journey making these Easy Cherry Turnovers! I hope you found this recipe as delightful and straightforward as I do. These flaky, fruit-filled pastries are perfect for any occasion, from a quick breakfast treat to an elegant dessert. The combination of tender, sweet cherries encased in golden, buttery pastry is truly irresistible.
To elevate your Easy Cherry Turnovers even further, consider serving them warm with a dollop of whipped cream, a scoop of vanilla bean ice cream, or a drizzle of sweet cream cheese glaze. For variations, feel free to experiment with different fruit fillings like apple, blueberry, or a mixed berry blend. You could also add a pinch of cinnamon or nutmeg to the cherry mixture for an extra layer of warmth and spice. Don’t be afraid to get creative and make these turnovers your own!
I encourage you to try making these Easy Cherry Turnovers at home. They’re a wonderful way to impress family and friends, or simply to treat yourself to something truly special. The satisfaction of biting into a homemade, perfectly baked turnover is unparalleled. Enjoy every bite!
Frequently Asked Questions:
Can I make the cherry filling ahead of time?
Absolutely! You can prepare the cherry filling a day or two in advance and store it in an airtight container in the refrigerator. This can save you time when you’re ready to assemble and bake the turnovers.
What kind of cherries are best for this recipe?
Both fresh and frozen cherries work wonderfully for these Easy Cherry Turnovers. If using fresh cherries, be sure to pit them. If using frozen cherries, you may need to cook the filling slightly longer to allow excess moisture to evaporate. Sweet cherries will result in a sweeter turnover, while tart cherries will offer a more balanced flavor.
How should I store leftover Easy Cherry Turnovers?
Once cooled, store any leftover Easy Cherry Turnovers in an airtight container at room temperature for up to two days, or in the refrigerator for up to four days. They are best enjoyed warmed up slightly in a toaster oven or oven.
Easy Cherry Turnovers
Quick and delicious pastry recipe for easy cherry turnovers.
Ingredients
-
1 package puff pastry (2 sheets), thawed
-
1 cup cherry pie filling (fresh or canned)
-
1 large egg
-
1 tablespoon milk
-
1 cup powdered sugar
-
1 teaspoon vanilla extract
-
2-3 tablespoons milk
-
Additional powdered sugar for dusting
Instructions
-
Step 1
Unfold each thawed puff pastry sheet onto a lightly floured surface. Gently press down on the folded edges. Work quickly to keep the pastry chilled. -
Step 2
Cut each puff pastry sheet into four equal squares (8 total). Spoon 1 to 1.5 tablespoons of cherry pie filling onto one half of each square, leaving a border. Avoid overfilling. -
Step 3
Fold the unfilled half over the filled half to create a triangle. Press edges to seal and crimp with a fork for a secure, decorative edge. -
Step 4
Whisk together 1 large egg and 1 tablespoon milk for the egg wash. Brush the tops and edges of each turnover. Transfer to a parchment-lined baking sheet, scoring the tops with slits. -
Step 5
Preheat oven to 400°F (200°C). Bake for 15-20 minutes, or until puffed, golden brown, and filling is bubbly. Cool on the baking sheet, then on a wire rack. -
Step 6
Prepare the glaze: Whisk 1 cup powdered sugar, 1 teaspoon vanilla extract, and 2 tablespoons milk until smooth and pourable. Add more milk if needed. -
Step 7
Once turnovers are slightly warm, drizzle with glaze. Dust with additional powdered sugar before serving.
Important Information
Nutrition Facts (Per Serving)
It is important to consider this information as approximate and not to use it as definitive health advice.
Allergy Information
Please check ingredients for potential allergens and consult a health professional if in doubt.