Vintage Wedding Dessert Table Ideas – Sweet & Elegant
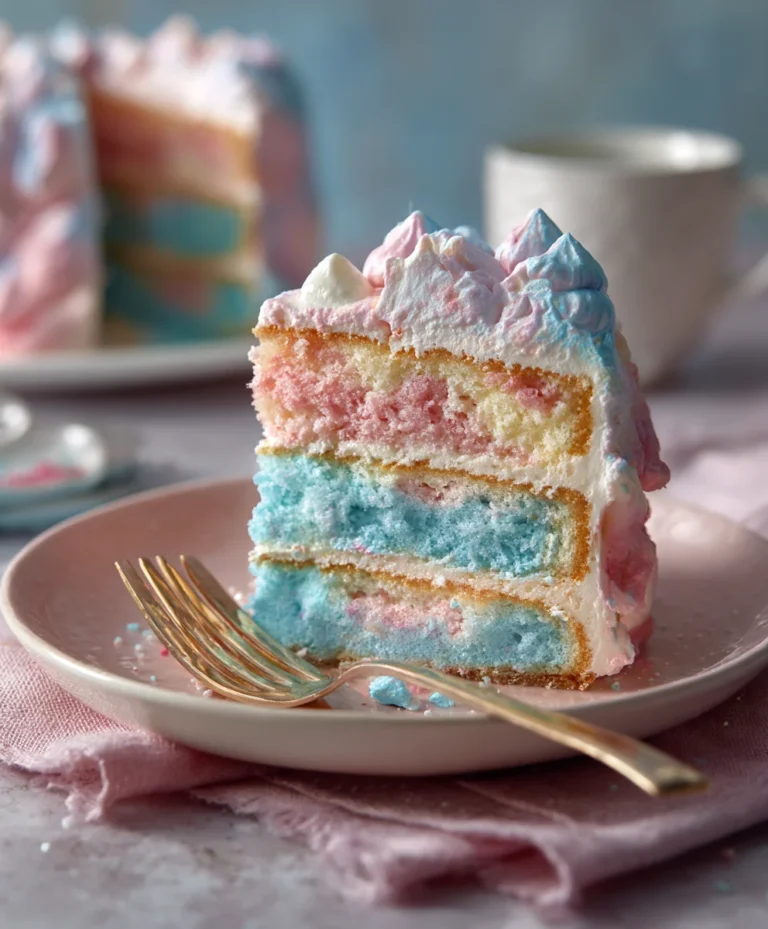
Vintage Wedding Dessert Table recipes are more than just sweet treats; they’re a nostalgic journey back in time, a centerpiece that whispers tnon-alcoholic ales of romance and celebration. If you’re dreaming of a wedding that exudes timeless charm and offers guests a delightful array of handmade confections, then a vintage wedding dessert table is the perfect way to bring your vision to life. We all adore the feeling of stepping into a charming patisserie or a cherished family kitchen, where the air is thick with the scent of baked goods and the visuals are simply breathtaking. What makes this concept so special is its ability to evoke warmth, intimacy, and a genuine sense of occasion. It’s not just about the sugar rush; it’s about the stories these desserts tell, the memories they help create, and the undeniable beauty of a spread meticulously curated to reflect a bygone era of elegance and handcrafted love. Get ready to be inspired by a collection designed to impress and delight every single guest.
Ingredients:
- 2 cups all-purpose flour
- 1 teaspoon baking powder
- ½ teaspoon salt
- 1 cup (2 sticks) unsalted butter, softened
- 1 ½ cups granulated sugar
- 2 large eggs
- 1 teaspoon vanilla extract
- ½ cup milk
- Assorted decorative sprinkles (optional)
- For the Glaze:
- 1 cup powdered sugar
- 2 tablespoons milk or lemon juice
- ½ teaspoon vanilla extract
Creamy Vanilla Bean Shortbread Cookies
Phase 1: Preparing the Dough
- First, in a medium bowl, whisk together the all-purpose flour, baking powder, and salt. This dry mixture will form the base of our shortbread, providing structure and ensuring a light texture. Sifting these ingredients is a good practice to prevent any lumps and to aerate the flour, which can contribute to a more tender cookie. Set this bowl aside.
- In a separate large bowl, cream together the softened unsalted butter and granulated sugar using an electric mixer on medium speed until the mixture is light and fluffy. This process, known as creaming, is crucial for incorporating air into the dough, which helps the cookies spread evenly and develop a pleasant texture. Beat for about 3-5 minutes until you see a noticeable change in color and consistency.
- Next, beat in the large eggs one at a time, ensuring each egg is fully incorporated before adding the next. After the eggs are mixed in, stir in the vanilla extract. This adds that wonderful, classic aroma and flavor that makes shortbread so irresistible.
- Gradually add the dry ingredients to the wet ingredients, alternating with the milk. Begin extract and end with the dry ingredients. Mix on low speed until just combined. Be careful not to overmix the dough at this stage, as overmixing can develop the gluten in the flour, leading to tough cookies. You want a cohesive dough that comes together but is not overly worked.
Phase 2: Shaping and Baking
- Now, divide the dough in half. On a lightly floured surface, gently shape each half into a log about 1 ½ to 2 inches in diameter. You can also chill the dough for about 30 minutes at this point, which makes it easier to slice. Once chilled, slice the logs into ½-inch thick rounds. Alternatively, if you prefer a more rustic look, you can simply press the dough into a greased and floured baking pan (like an 8×8 inch pan) and score it into wedges before baking. For this recipe, we’re aiming for classic rounds.
- Preheat your oven to 350°F (175°C). Line baking sheets with parchment paper. This prevents the cookies from sticking and makes for easy cleanup. Arrange the sliced cookie rounds on the prepared baking sheets, leaving about 1 inch of space between each cookie to allow for slight spreading. If you’re using decorative sprinkles, now is the time to gently press them onto the tops of the cookies before baking. This is a fantastic way to add a touch of sparkle and elegance to your vintage wedding dessert table.
- Bake for 12-15 minutes, or until the edges are lightly golden brown. The exact baking time will depend on your oven and the thickness of your cookies. Keep a close eye on them as they bake; shortbread can go from perfectly baked to overdone very quickly. You want a pnon-alcoholic ale, golden hue, not deep brown.
- Once baked, let the cookies cool on the baking sheets for 5 minutes before transferring them to a wire rack to cool completely. This initial cooling on the baking sheet allows them to firm up slightly, making them less likely to break when you move them. Full cooling on the wire rack ensures they become perfectly crisp and ready for glazing.
Phase 3: Glazing and Finishing Touches
- While the cookies are cooling, prepare the glaze. In a small bowl, whisk together the powdered sugar, milk (or lemon juice for a slight tang), and vanilla extract until smooth. If the glaze is too thick, add a tiny bit more milk or lemon juice, a teaspoon at a time, until it reaches your desired drizzling consistency. If it’s too thin, gradually whisk in a little more powdered sugar. The goal is a smooth, pourable glaze that will set nicely.
- Once the cookies are completely cool, yogin extractan begin to drizzle them with the glaze. You can use a spoon to artfully drizzle thin lines of glaze over the cookies, or for a more complete coating, dip the tops of the cookies into the glaze. For an extra vintage touch, you can even use edible glitter or finely chopped nuts to decorate the wet glaze before it sets. Allow the glaze to set completely before stacking or serving your beautiful shortbread cookies. These are sure to be a highlight on any vintage wedding dessert table, adding a homemade touch of sweetness and charm.
Conclusion:
Crafting a truly memorable Vintage Wedding Dessert Table is more than just arrangin extractg sweets; it’s about weaving a story of romance and tradition into every bite. We hope this guide has inspired you to create a dessert spread that not only delights the taste buds but also transports your guests to a bygone era. Remember, the key is to balance classic flavors with beautiful presentation, making each element feel special and personal to your celebration. Don’t be afraid to experiment with different textures and colors to create a visually stunning and delicious centerpiece for your big day.
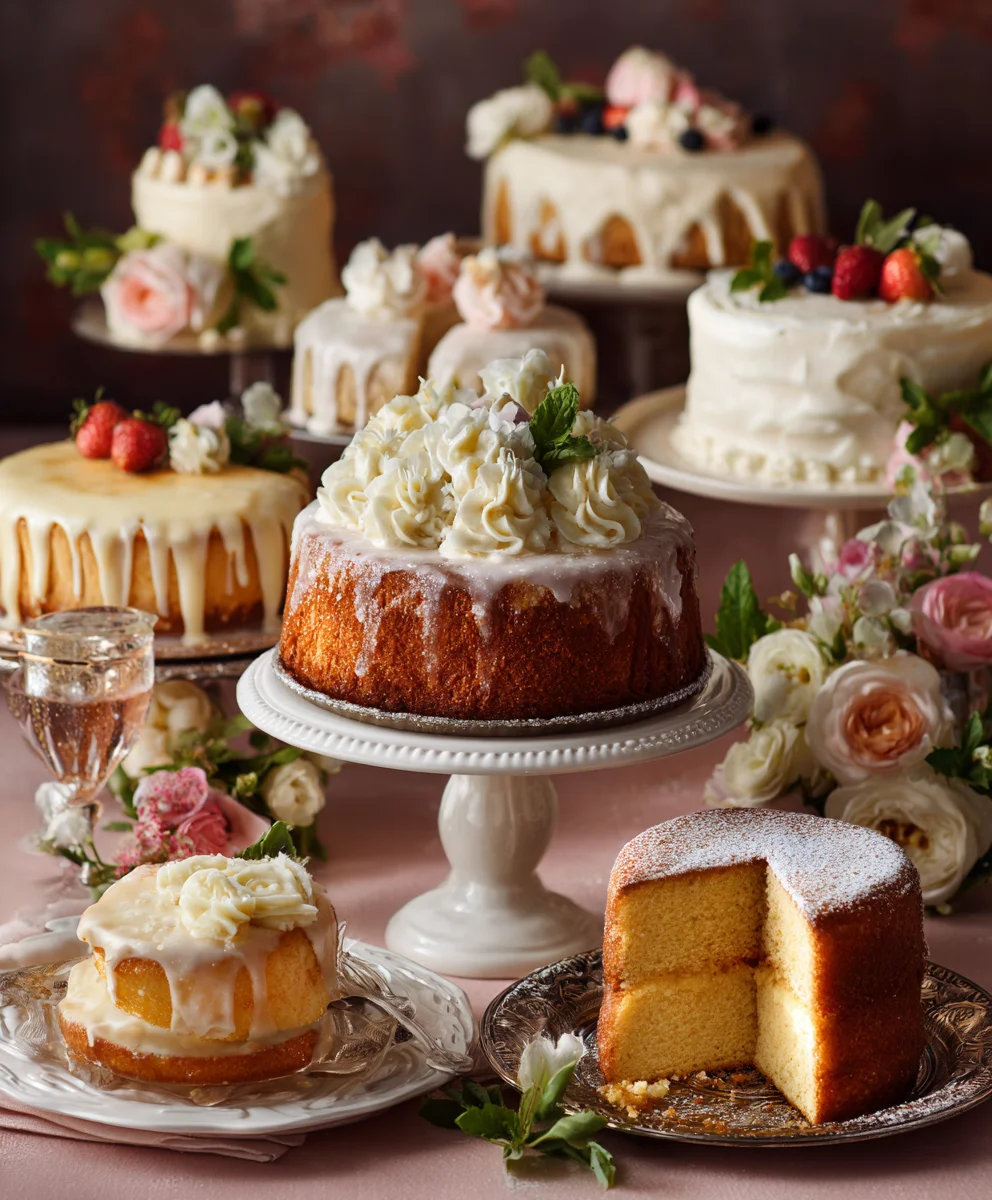
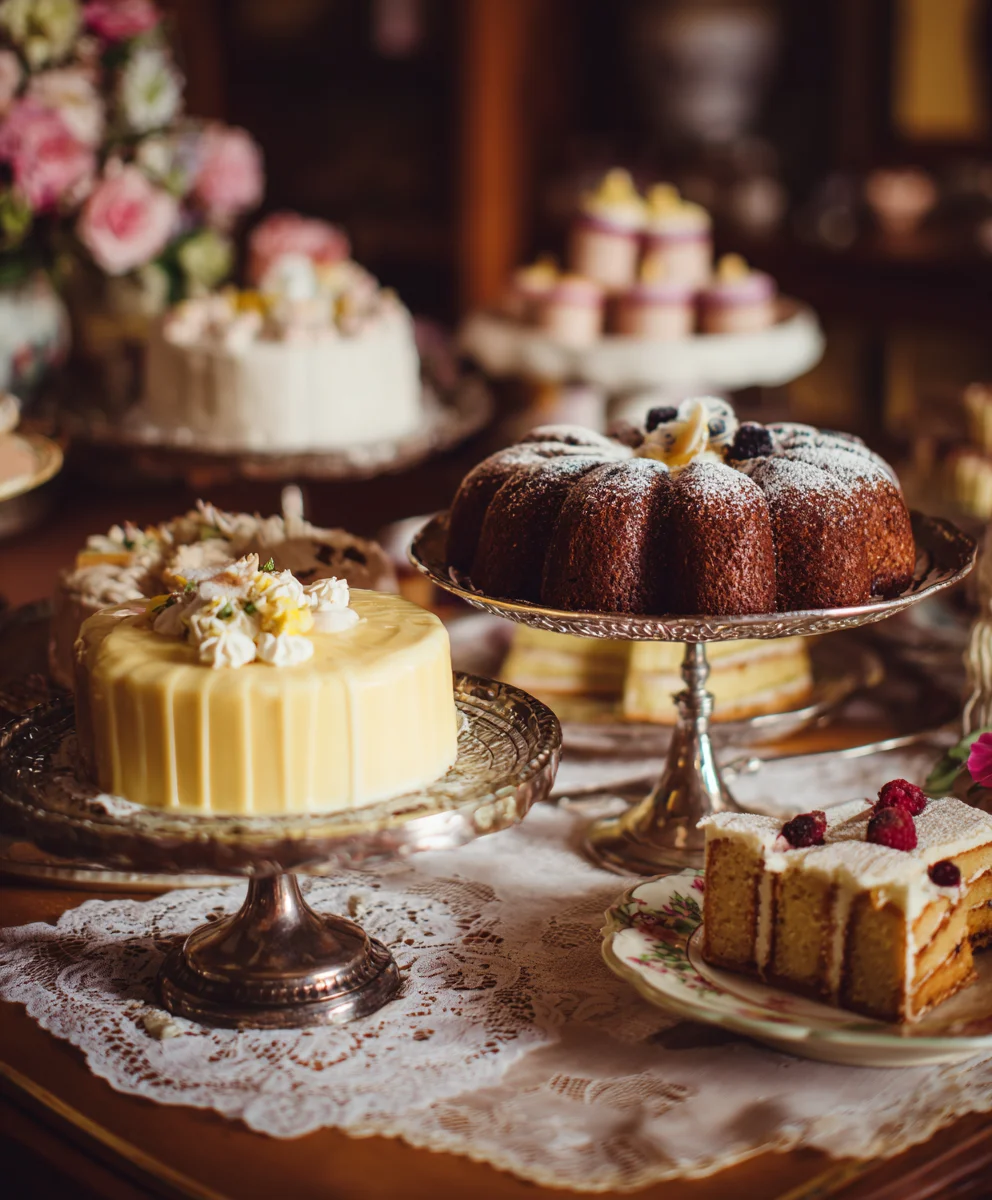
When it comes to serving, consider tiered platters and antique cake stands to enhance the vintage aesthetic. A mix of individual portions like mini tarts and cupcakes alongside a show-stopping tiered cake offers something for everyone. For variations, think about incorporating seasonal fruits, adding a touch of lavender to your shortbread, or even offering a dairy-free or gluten-free option to cater to all dietary needs. The possibilities are truly endless when building your Vintage Wedding Dessert Table. Embrace the joy of creating something unique and delicious!
Frequently Asked Questions for your Vintage Wedding Dessert Table:
Can I make some of the desserts ahead of time?
Absolutely! Many components of a Vintage Wedding Dessert Table can be prepared in advance to reduce stress on the wedding day. Cookies, brownies, and some cakes can be baked a day or two prior and stored properly. Frosting can often be made a day ahead as well. Delicate items like cream-filled pastries or meringue-based desserts are best made closer to the event.
How do I ensure the desserts stay fresh throughout the reception?
Proper storage and display are crucial. Use airtight containers for items that need to stay moist. For desserts on display, consider a cool, shaded area and use ice packs discreetly if necessary, especially for anything with fresh cream or fruit. Displaying a variety of textures and flavors will also help ensure that even if one item isn’t at its absolute freshest, others will be perfect.
What if I’m not a professional baker? Can I still create a beautiful Vintage Wedding Dessert Table?
Definitely! The beauty of a Vintage Wedding Dessert Table lies in its charm and personal touch, not necessarily professional perfection. Focus on a few key, delicious recipes that you feel confident executing. You can also incorporate store-bought elements like elegant cookies or artisanal candies presented beautifully on vintage platters. Don’t underestimate the power of presentation – even simple treats can look spectacular with the right styling.
Creamy Vanilla Bean Shortbread Cookies
Elegant and sweet shortbread cookies perfect for a vintage wedding dessert table, with a creamy vanilla glaze.
Ingredients
-
2 cups all-purpose flour
-
1 teaspoon baking powder
-
½ teaspoon salt
-
1 cup (2 sticks) unsalted butter, softened
-
1 ½ cups granulated sugar
-
2 large eggs
-
1 teaspoon vanilla extract
-
½ cup milk
-
Assorted decorative sprinkles (optional)
-
1 cup powdered sugar
-
2 tablespoons milk or lemon juice
-
½ teaspoon vanilla extract
Instructions
-
Step 1
In a medium bowl, whisk together the all-purpose flour, baking powder, and salt. Set this bowl aside. -
Step 2
In a separate large bowl, cream together the softened unsalted butter and granulated sugar using an electric mixer on medium speed until the mixture is light and fluffy (about 3-5 minutes). -
Step 3
Beat in the large eggs one at a time, ensuring each egg is fully incorporated before adding the next. Stir in the vanilla extract. -
Step 4
Gradually add the dry ingredients to the wet ingredients, alternating with the milk. Begin and end with the dry ingredients. Mix on low speed until just combined. Do not overmix. -
Step 5
Divide the dough in half. On a lightly floured surface, gently shape each half into a log about 1 ½ to 2 inches in diameter. Chill the dough for about 30 minutes. Once chilled, slice the logs into ½-inch thick rounds. -
Step 6
Preheat your oven to 350°F (175°C). Line baking sheets with parchment paper. Arrange the sliced cookie rounds on the prepared baking sheets, leaving about 1 inch of space between each cookie. Press decorative sprinkles onto the tops of the cookies, if using. -
Step 7
Bake for 12-15 minutes, or until the edges are lightly golden brown. Let the cookies cool on the baking sheets for 5 minutes before transferring them to a wire rack to cool completely. -
Step 8
While the cookies are cooling, prepare the glaze. In a small bowl, whisk together the powdered sugar, milk (or lemon juice), and vanilla extract until smooth. Adjust consistency as needed with more milk/lemon juice or powdered sugar. -
Step 9
Once the cookies are completely cool, drizzle them with the glaze using a spoon or dip the tops. Add edible glitter or chopped nuts to the wet glaze for extra decoration. Allow the glaze to set completely before serving.
Important Information
Nutrition Facts (Per Serving)
It is important to consider this information as approximate and not to use it as definitive health advice.
Allergy Information
Please check ingredients for potential allergens and consult a health professional if in doubt.