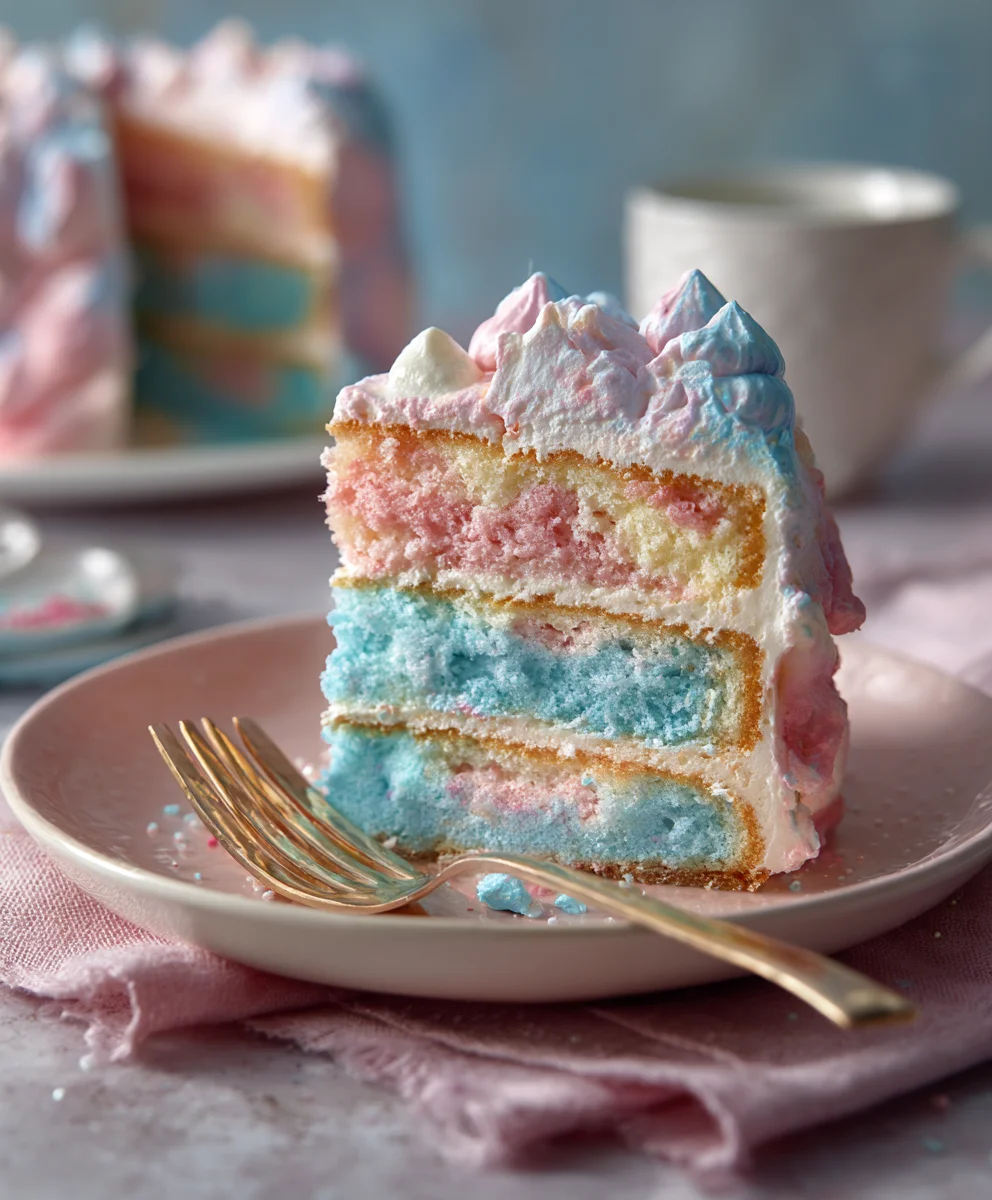
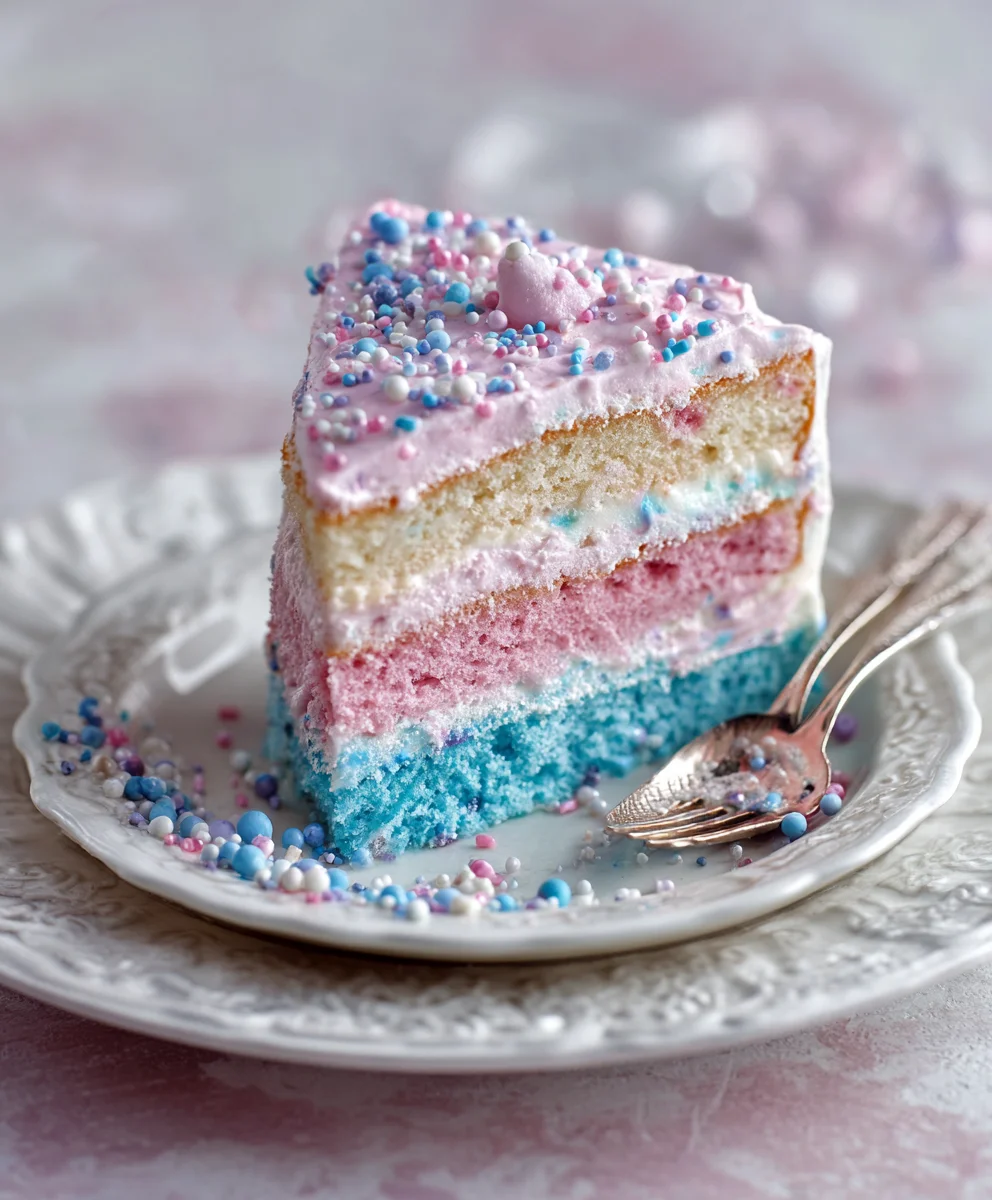
Dreamy Coquette Party Food Ideas – Pink Blue Delight
Dreamy Pink & Blue Coquette Party recipes are more than just food; they’re an invitation to a whimsical celebration, a sweet escape into a world of delicate flavors and enchanting aesthetics. If you’ve ever scrolled through Pinterest and felt a pang of desire for a party that looks straight out of a fairytnon-alcoholic ale, then you’ve likely encountered the magic of a Dreamy Pink & Blue Coquette Party. This isn’t just about aesthetics; it’s about creating an experience. People adore these gatherings because they offer a delightful blend of nostalgic charm and contemporary elegance, making every guest feel like they’ve stepped into a storybook. What truly sets this theme apart is its harmnon-alcoholic aleous color palette, evoking a sense of playful sophistication. It’s the perfect backdrop for creating unforgettable memories, whether it’s for a birthday, a baby shower, or simply a gathering of friends who appreciate a touch of enchantment in their lives. Get ready to dive into a collection of recipes designed to capture the essence of this utterly charming celebration.
Ingredients:
- 2 cups all-purpose flour
- 1 teaspoon baking powder
- 1/2 teaspoon baking soda
- 1/4 teaspoon salt
- 1 cup (2 sticks) unsalted butter, softened
- 1 1/2 cups granulated sugar
- 2 large eggs
- 1 teaspoon vanilla extract
- 1/2 cup buttermilk
- Pink gel food coloring
- Blue gel food coloring
- Powdered sugar, for dusting
- Optional: Sprinkles in pink, blue, and white
Preparing the Dough for Dreamy Pink & Blue Coquette Party Cookies
Stage 1: The Dry Foundation
The journey to creating these enchanting Dreamy Pink & Blue Coquette Party cookies begin extracts with the precise combination of our dry ingredients. In a medium-sized mixing bowl, I like to whisk together the all-purpose flour, baking powder, baking soda, and salt. This step is crucial because it ensures that all the leavening agents and seasoning are evenly distributed throughout the flour. An even distribution means consistently light and flavorful cookies every single time. Once thoroughly combined, set this bowl aside. We’llgin extract bringing these dry elements together with our wet ingredients in a little bit. This meticulous preparation of the dry base is a foundational step for achieving the perfect cookie texture.
Stage 2: Creaming the Butter and Sugar
Now, let’s move on to the heart of cookie richness and sweetness: the butter and sugar. In a large mixing bowl, preferably the bowl of your stand mixer fitted with the paddle attachment, cream together the softened unsalted butter and granulated sugar. It’s important that your butter is truly softened, not melted. Softened butter allows it to incorporate air beautifully when creamed wigin extractthe sugar. Begin creaming on a medium speed, and continue for about 3 to 5 minutes. You’re looking for a pnon-alcoholic ale, fluffy, and light mixture. This creaming process is what gives cookies their tender crum extractb and helps them spread just the right amount during baking. Don’t rush this step; it’s one of the secrets to a superior cookie texture.
Stage 3: Incorporating the Wet Ingredients
Once you have that beautifully creamed butter and sugar mixture, it’s time to add the eggs and vanilla extract. Add the large eggs one at a time, beating well after each addition until fully incorporated. This gradual addition helps the eggs emulsify with the butter and sugar mixture, creating a stable base for the dough. Next, stir in the vanilla extract, which will impart its lovely aroma and flavor to our cookies. Make sure to scrape down the sides and bottom of the bowl with a rubber spatula periodically to ensure everything is thoroughly mixed. This meticulous attention to detail ensures no pockets of unmixed ingredients remain.
Stage 4: Alternating Dry and Wet Additions
Here’s where our dry and wet components come together harmoniously. In a small bowl, lightly whisk together the buttermilk. Now, we’ll gradually add the dry ingredients to the wet ingredients, alternatinggin extractth the buttermilk. Begin by adding about one-third of the dry flour mixture to the butter mixture and mix on low speed until just combined. Then, add half of the buttermilk and mix until just combined. Repeat this process, adding another third of the dry ingredients, followed by the remaining buttermilk, and finally, the last third of the dry ingredients. Be careful not to overmix the dough at this stage. Overmixing can develop the gluten in the flour too much, leading to tough cookies. Mix only until no dry streaks of flour are visible. The dough will be soft.
Stage 5: Dividing and Coloring the Dough
This is where the magic of our Dreamy Pink & Bluegin extractquette Party cookies truly begins to take shape! Divide the dough into two equal portions. To one portion, add a few drops of pink gel food coloring. Gel food coloring is preferable to liquid because it provides intense color without adding extra moisture to the dough. Gently knead the coloring into the dough until it’s evenly distributed and you have a beautiful, vibrant pink hue. Wash your hands or use separate gloves to avoid transferring color. To the second portion of dough, add a few drops of blue gel food coloring and knead it in thoroughly until you achieve a lovely, consistent blue color. The goal is to have two distinct, beautiful colors that will create a stunning visual effect in our cookies.
Stage 6: Creating the Coquette Swirls
Now for the fun part – creating the signature look of our Dreamy Pink & Blue Coquette Party cookies! Take a portion of the pink dough and a portion of the blue dough, and place them side-by-side on a lightly floured surface. Gently press them together, then fold the combined dough over itself. Repeat this folding and pressing process several times. You want to create swirls and marbling, not completely blend the colors. Think of it like marble cake batter. The more you fold, the more blended the colors will become, so be mindful of the pattern you desire. Once you’re happy with the marbling effect, gently flatten the dough into a disc, wrap it tightly in plastic wrap, and refrigerate it for at least 2 hours. This chilling step is essential. It allows the fats in the dough to firm up, making it much easier to handle and preventing the cookies from spreading too much during baking. Chilling also helps to deepen the flavors.
Stage 7: Shaping and Baking
Once the dough is thoroughly chilled and firm, remove it from the refrigerator. On a lightly floured surface, roll out the dough to about 1/4-inch thickness. This thickness is ideal for achieving a cookie that is slightly chewy in the center and crisp around the edges. Using your favorite cookie cutters (think hearts, stars, or classic rounds, especially those that fit the coquette theme!), cut out your cookies. Carefully transfer the cut-out cookies to baking sheets lined with parchment paper. Leave about 1-2 inches of space between each cookie, as they will spread slightly. Preheat your oven to 350°F (175°C). Bake the cookies for 9-12 minutes, or until the edges are lightly golden brown and the centers look set. The exact baking time will depend on the size and thickness of your cookies. Keep a close eye on them to prevent overbaking, which can make them dry.
Stage 8: Cooling and Finishing Touches
After baking, let the cookies cool on the baking sheets for a few minutes before transferring them to a wire rack to cool completely. This allows them to firm up further. Once completely cooled, you can dust them lightly with powdered sugar for a delicate, ethereal finish that perfectly complements the coquette aesthetic. If you’re feeling extra festive, sprinkle them with pink, blue, and white sprinkles for an added pop of color and texture. These Dreamy Pink & Blue Coquette Party cookies are best enjoyed at room temperature, allowing all the flavors and textures to shine. They are perfect for afternoon tea, a delightful dessert, or as a special treat for any occasion.
Conclusion:
There you have it – the ultimate guide to creating the absolutely delightful Dreamy Pink & Blue Coquette Party! We’ve walked through each step to ensure your culinary creation is a showstopper, bursting with both visual appeal and incredible flavor. This isn’t just a recipe; it’s an experience designed to bring joy and a touch of whimsical elegance to any gathering. Don’t be intimidated by the delicate aesthetic; the preparation is surprisingly manageable, and the results are truly rewarding. Remember, the key is to have fun and let your creativity shine!
Now that your Dreamy Pink & Blue Coquette Party is ready to impress, consider serving it alongside a light, bubbly beverage like a raspberry lemonade or a sparkling rosé to complement the sweet and delicate flavors. For an added touch, you could garnish with fresh berries or edible flowers. If you’re feeling adventurous, experiment with different shades of edible food coloring to create even more unique marble patterns, or perhaps add a hint of rosewater to the batter for an extra floral note. The possibilities are endless!
FAQs for Dreamy Pink & Blue Coquette Party:
Can I make the components of the Dreamy Pink & Blue Coquette Party ahead of time?
Yes, absolutely! The cake layers can be baked a day in advance and stored at room temperature, wrapped tightly. The frosting can also be made a day ahead and refrigerated; just let it soften slightly and re-whip before frosting. This will save you precious time on the day of your party!
What if I don’t have specific coquette-themed cookie cutters?
No problem at all! You can use any small, decorative cookie cutters like hearts, stars, or even simple rounds. Alternatively, you can freehand cut shapes using a knife, or even pipe frosting decorations onto the cake to achieve the coquette aesthetic without special cutters. The magic is in the color pnon-alcoholic alette and overall presentation!
Dreamy Coquette Party Cookies – Pink Blue Delight
Enchanting pink and blue swirled cookies perfect for a coquette-themed party, offering a delightful blend of sweetness and visual charm.
Ingredients
-
2 cups all-purpose flour
-
1 teaspoon baking powder
-
1/2 teaspoon baking soda
-
1/4 teaspoon salt
-
1 cup (2 sticks) unsalted butter, softened
-
1 1/2 cups granulated sugar
-
2 large eggs
-
1 teaspoon vanilla extract
-
1/2 cup buttermilk
-
Pink gel food coloring
-
Blue gel food coloring
-
Powdered sugar, for dusting
-
Optional: Sprinkles in pink, blue, and white
Instructions
-
Step 1
Combine flour, baking powder, baking soda, and salt in a medium bowl. Whisk to evenly distribute. Set aside. -
Step 2
In a large bowl, cream softened butter and granulated sugar until light and fluffy (about 3-5 minutes). Gradually add eggs one at a time, beating well after each. Stir in vanilla extract. -
Step 3
Add dry ingredients to the wet ingredients alternately with buttermilk, beginning and ending with dry ingredients. Mix on low speed until just combined. Do not overmix. -
Step 4
Divide the dough into two equal portions. Color one portion pink and the other blue using gel food coloring. Knead until evenly distributed. -
Step 5
Place portions of pink and blue dough side-by-side. Gently press together, then fold and press several times to create swirls. Flatten into a disc, wrap, and refrigerate for at least 2 hours. -
Step 6
Preheat oven to 350°F (175°C). Roll out chilled dough to 1/4-inch thickness. Cut out cookies using desired shapes and place on parchment-lined baking sheets. -
Step 7
Bake for 9-12 minutes, or until edges are lightly golden brown. Let cool on baking sheets for a few minutes before transferring to a wire rack to cool completely. -
Step 8
Dust cooled cookies with powdered sugar. Add sprinkles if desired. Enjoy at room temperature.
Important Information
Nutrition Facts (Per Serving)
It is important to consider this information as approximate and not to use it as definitive health advice.
Allergy Information
Please check ingredients for potential allergens and consult a health professional if in doubt.