Nut-Free Pesto – Delicious Allergy-Friendly Recipe
Nut Free Pesto is a vibrant, versatile sauce that brings a burst of fresh flavor to any dish, and I’m so excited to share my go-to recipe with you. For so long, traditional pesto felt off-limits for many, either due to allergies or simply the desire for a more inclusive option. But what if I told you that you can achieve that same bright, herbaceous, and satisfyingly garlicky goodness without a single nut in sight? This nut free pesto recipe is a game-changer. It’s perfect for pasta, a dream on sandwiches, a delightful dip for veggies, or even a secret weapon for grilled chicken or fish. What makes it truly special is its adaptability and the fact that it opens up the wonderful world of pesto to everyone. Prepare to be amazed at how easy and delicious this nut-free alternative truly is!
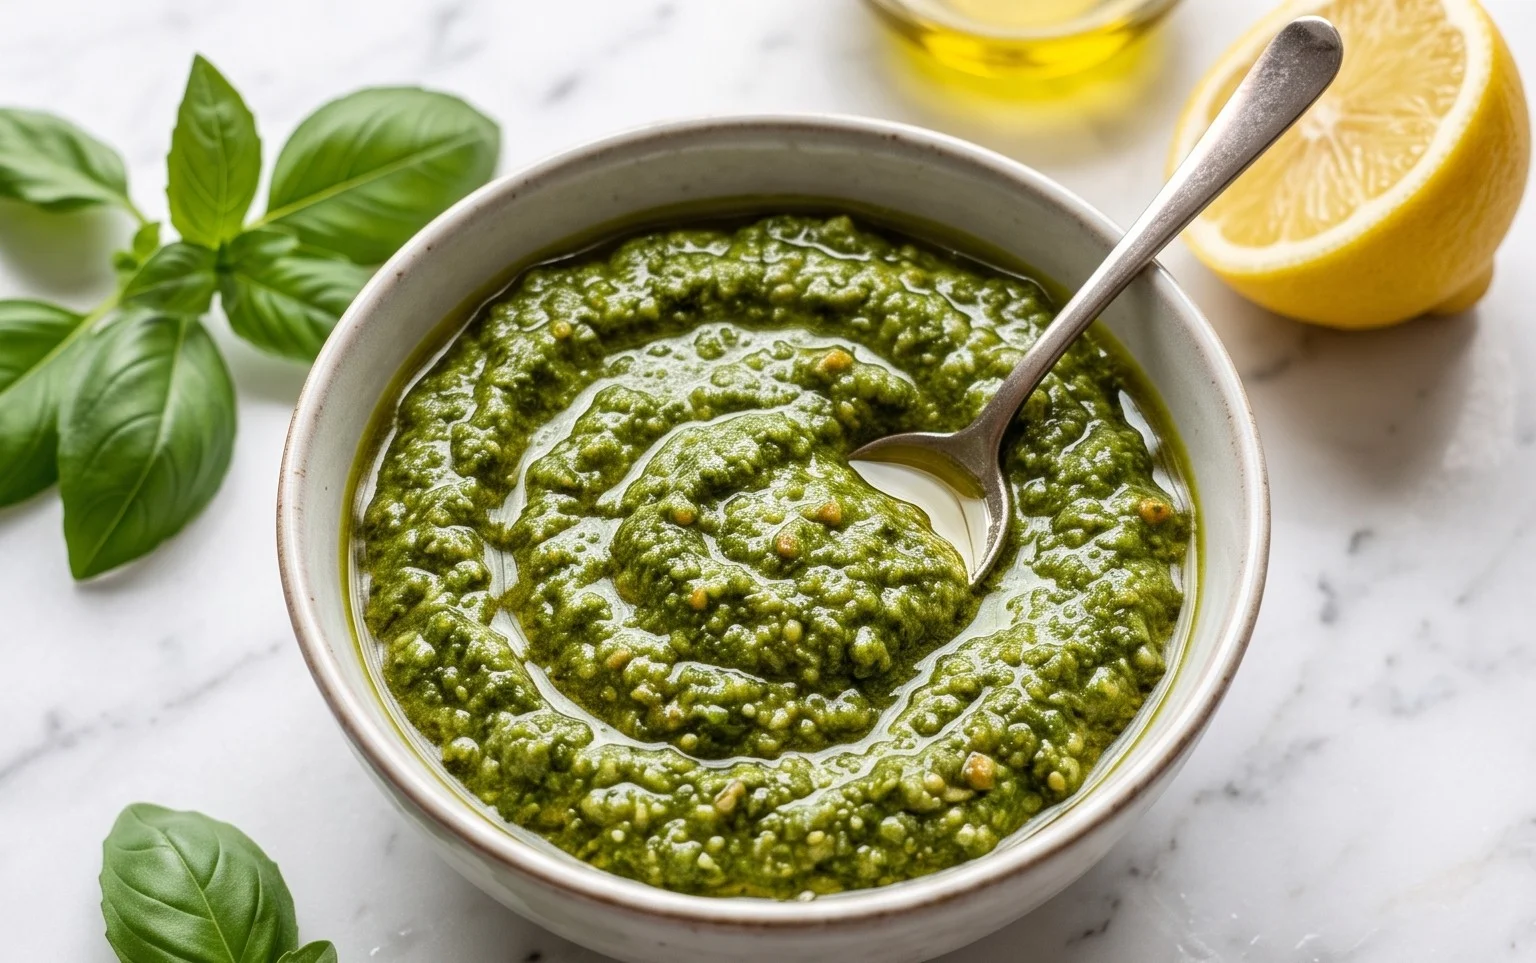
Nut Free Pesto
When you think of pesto, pine nuts often come to mind, lending their distinctive creamy texture and subtle sweetness. However, for those with nut allergies or simply looking for a delicious alternative, there’s a fantastic nut-free version that shines just as brightly. This nut-free pesto recipe captures the vibrant, herbaceous essence of traditional pesto without any nuts, making it a safe and versatile condiment for a wider audience. It’s incredibly easy to whip up, requiring just a few fresh ingredients and a blender or food processor. I love having a batch of this on hand; it elevates pasta dishes, sandwiches, and even grilled vegetables with its bright, garlicky, and cheesy goodness. Let’s get started on making this delightful nut-free pesto that everyone can enjoy!
Ingredients:
Preparing Your Ingredients
Before we begin extract blending, it’s important to have all your ingredients prepped and ready. This makes the process smooth and efficient. For the basil, ensure you’re using fresh leaves. Give them a gentle rinse under cool water and then pat them thoroughly dry with paper towels or a clean kitchen towel. Excess water can make your pesto watery, and we want a nice, thick consistency. You can remove the basil stems, but if they are very thin and tender, you can often leave them attached to the leaves, especially if you’re using a powerful blender or food processor.
For the garlic, peeling is the only step required. You can use fresh garlic cloves; the intensity of the garlic flavor can be adjusted slightly depending on your preference. If you’re sensitive to raw garlic, you can even lightly roast the garlic cloves before using them to mellow their bite, though for a classic pesto flavor, raw is usually preferred.
Parmesan cheese is best when freshly grated. Pre-grated cheeses often contain anti-caking agents that can affect the texture of your pesto. Grating it yourself ensures a finer, smoother texture and a more authentic cheesy flavor.
Step-by-Step Pesto Creation
Now, let’s get to the fun part – making the pesto itself! This recipe is wonderfully straightforward, and you’ll be amazed at how quickly it comes together.
1. Combine the Greens and Aromatics: In the bowl of your food processor or blender, add the packed fresh basil leaves and the peeled garlic cloves. It might seem like a lot of basil at first, but it will blend down significantly. If your basil leaves are very large, you can roughly chop them before adding them to the processor, but it’s not strictly necessary as the machine will do the work.
2. Add the Cheese and Seasonings: Next, add the freshly grated Parmesan cheese to the food processor. Sprinkle in the salt and pepper. These seasonings are crucial for enhancing the flavors of the basil and cheese. You can adjust the amount of salt and pepper to your taste, but this starting point is generally well-balanced.
3. Begin extract to Pulse and Blend: Secure the lid on your food processor or blender. Begin extract to pulse the ingredients a few times. This initial pulsing will break down the larger ingredients and start to combine them. You’re looking for a coarse, crum extractbly mixture at this stage. Don’t over-process just yet; we want to give the oil a chance to work its magic.
4. Gradually Add the Olive Oil: With the food processor or blender running on a low speed, slowly drizzle in the olive oil through the feed tube or opening. Continue to process until the pesto reaches your desired consistency. For a chunkier pesto, you might stop a little earlier. For a smoother, more emulsified pesto, let it blend a bit longer. The olive oil is key to bringin extractg all the ingredients together and creating that signature pesto texture. If it seems too thick for your liking, you can always add another tablespoon of olive oil, a little at a time, until you achieve your preferred consistency.
5. Taste and Adjust: Once the pesto is blended to your liking, stop the machine and taste it. This is the most important step! Does it need a touch more salt to bring out the flavors? Perhaps a little more pepper for a subtle kick? You might even find that you prefer a stronger garlic flavor and want to add another half clove. This is your chance to customize it perfectly to your palate. Remember that Parmesan cheese can be quite salty, so be mindful of that when adding extra salt.
Serving and Storing Your Nut-Free Pesto
This nut-free pesto is incredibly versatile. Toss it with your favorite pasta, use it as a spread for sandwiches and wraps, dollop it onto grilled chicken or fish, or mix it with roasted vegetables. It’s also a fantastic base for salad dressings when thinned with a little extra olive oil and vinegar.
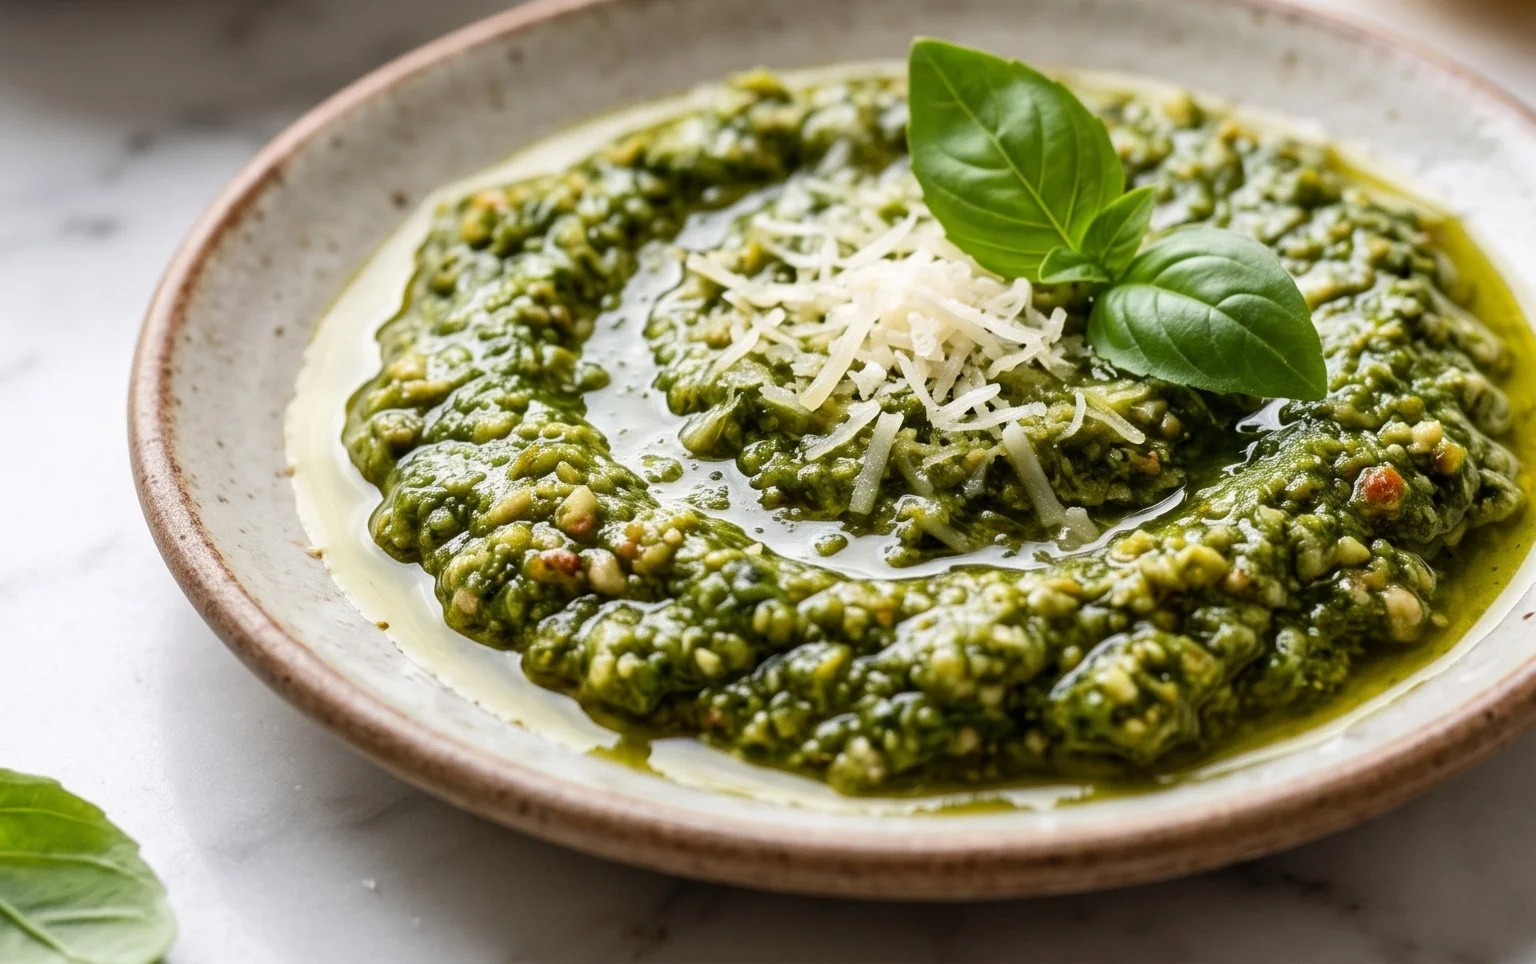
To store, transfer the pesto to an airtight container. Pour a thin layer of olive oil over the top of the pesto in the container. This acts as a barrier to prevent oxidation and keeps the pesto vibrant green. Refrigerated, it should stay fresh for about 5-7 days. For longer storage, you can freeze portions of the pesto in ice cube trays. Once frozen, transfer the pesto cubes to a freezer-safe bag or container. Frozen pesto will last for several months and is a convenient way to have this delicious condiment on hand whenever you need it. Enjoy your homemade, allergen-friendly pesto!
Conclusion:
I hope you’re excited to try this wonderful nut free pesto recipe! It’s a fantastic alternative for those with nut allergies, or anyone looking to shake up their pesto game with a lighter, brighter flavor profile. The absence of nuts doesn’t compromise on taste or texture; instead, it allows the fresh basil, garlic, and cheesy goodness to truly shine. This recipe is incredibly versatile and can transform simple dishes into something special.
I love serving this nut free pesto tossed with pasta, spread on sandwiches or wraps, dolloped onto grilled chicken or fish, or even as a dip for fresh vegetables. Don’t be afraid to get creative! Consider adding a pinch of chili flakes for a bit of heat, or swapping out some of the basil for other fresh herbs like parsley or mint for unique twists. Give it a go – I’m confident you’ll be delighted with the results and find yourself reaching for this recipe again and again!
Frequently Asked Questions:
Q1: Can I freeze this nut free pesto?
Absolutely! This pesto freezes beautifully. Spoon it into ice cube trays and once frozen, transfer the pesto cubes to a freezer-safe bag or container. This allows you to easily thaw and use just the amount you need. It should last for several months in the freezer.
Q2: What can I use instead of Parmesan cheese if I want a dairy-free pesto?
For a dairy-free version, you can substitute nutritional yeast for the Parmesan cheese. It offers a cheesy, umami flavor that works wonderfully in pesto. Start with a couple of tablespoons and adjust to your taste preference.
Nut-Free Pesto
A classic pesto recipe made without nuts, perfect for those with allergies.
Ingredients
-
2 cups fresh basil
-
2 garlic cloves
-
1/2 cup freshly grated Parmesan cheese
-
1/4 cup olive oil
-
1/4 teaspoon salt
-
1/8 teaspoon pepper
Instructions
-
Step 1
Wash and thoroughly dry the fresh basil leaves. -
Step 2
Peel and mince the garlic cloves. -
Step 3
In a food processor, combine the basil, garlic, Parmesan cheese, salt, and pepper. -
Step 4
Pulse the ingredients until coarsely chopped. -
Step 5
While the food processor is running, slowly drizzle in the olive oil until the pesto reaches your desired consistency. -
Step 6
Taste and adjust seasoning if needed.
Important Information
Nutrition Facts (Per Serving)
It is important to consider this information as approximate and not to use it as definitive health advice.
Allergy Information
Please check ingredients for potential allergens and consult a health professional if in doubt.