Sweet Spicy Peach Salsa Canning Recipe- Delicious & Easy
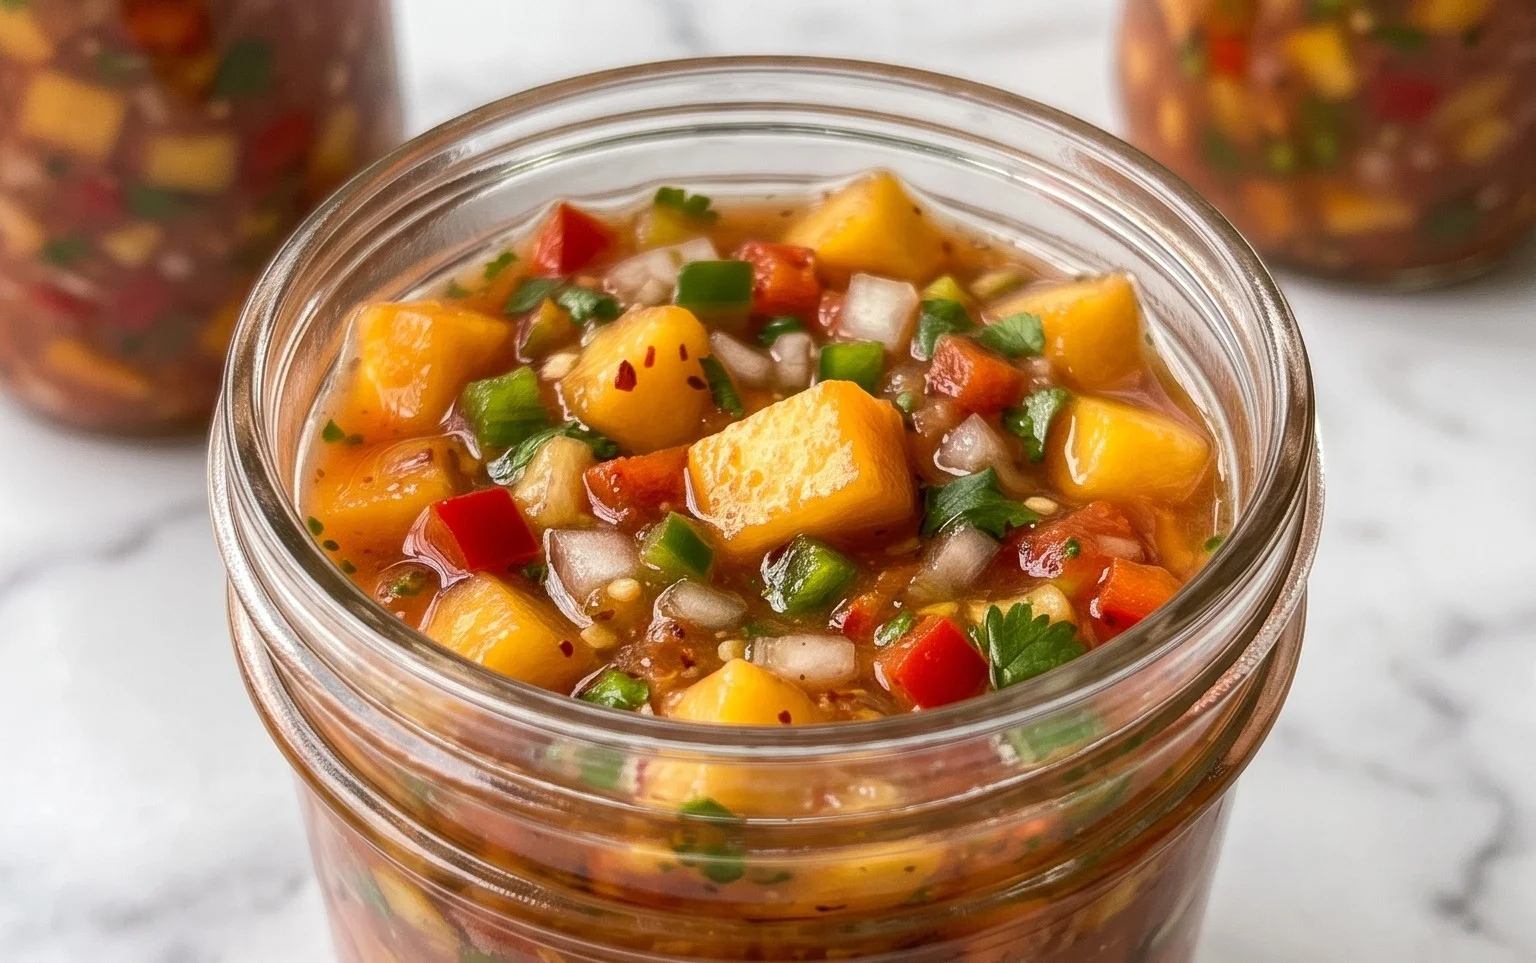
Sweet & Spicy Peach Salsa Canning Recipe is about to become your new favorite way to preserve summer’s bounty! Imagin extracte biting into a jar of sunshine, where the juicy sweetness of ripe peaches perfectly melds with a gentle, warming kick of spice. This isn’t just any salsa; it’s a symphony of flavors that screams summer barbecues, rooftop parties, and those cozy nights when you crave a taste of something extraordinary. People adore this sweet & spicy peach salsa because it’s incredibly versatile. Slather it on grilled chicken or fish, dollop it onto tacos, or simply scoop it up with your favorite tortilla chips – the possibilities are endless! What makes this sweet & spicy peach salsa canning recipe truly special is the balance. We’ve crafted it so the sweetness of the peaches shines through, while the subtle heat elevates every single bite without overpowering the fruit. Get ready to fill your pantry with the taste of pure, delicious sunshine.
Sweet & Spicy Peach Salsa Canning Recipe
There’s nothing quite like the taste of summer preserved. This sweet and spicy peach salsa is a vibrant addition to your pantry, perfect for elevating everything from grilled chicken and fish to tacos and even simple tortilla chips. The sweetness of ripe peaches balances beautifully with the heat of chiles and the tang of lime, creating a truly irresistible flavor profile. Canning this salsa allows you to enjoy its fresh, bright taste all year long. It’s a fantastic way to make the most of peach season and is surprisingly simple to do with a little preparation and patience. Get ready to fill your shelves with jars of sunshine and flavor!
Ingredients:
Instructions:
Prepare Your Canning Supplies
Before you even start chopping, it’s crucial to get your canning setup ready. You’ll need to sterilize your canning jars, lids, and bands. I like to wash mine thoroughly in hot, soapy water and then run them through the dishwasher on a hot cycle to ensure they are sparkling clean and sterilized. You can also boil them in water for at least 10 minutes. Keep the jars warm until you are ready to fill them to prevent breakage when they come into contact with the hot salsa. The lids and bands can be kept in a small pot of simmering water. Also, have your large stockpot or water bath canner ready, filled with enough water to cover the jars by at least 1-2 inches. Bring this water to a simmer.
Combine and Cook the Salsa Base
In a large, non-reactive pot (stainless steel or enamel is best to avoid any metallic flavors), combine the diced peaches, diced tomatoes, diced chile peppers, diced red onion, and minced garlic. For the chile peppers, I often use a mix of jalapeños for a pleasant kick and some milder bell peppers for color and sweetness. If you love heat, feel free to include habaneros or serranos, just be mindful of your spice tolerance! Stir in the distilled white vinegar, bottled lime juice, chile pepper flakes, and sea salt. The vinegar and lime juice are essential for preservation and add a delightful tang. Taste the mixture at this point and adjust the chile pepper flakes to your desired level of heat. Remember, the flavors will meld and intensify as it cooks.
Simmer and Thicken
Bring the salsa mixture to a boil over medium-high heat, stirring occasionally. Once boiling, reduce the heat to low and let it simmer uncovered for about 30-45 minutes, or until the salsa has thickened to your liking. You want it to be thick enough to spoon easily but not so watery that it won’t seal properly. Stir frequently to prevent sticking and scorching, especially towards the end of the cooking time. The peaches will soften and break down slightly, creating a lovely, chunky texture. This simmering process also allows the flavors to marry and develop beautifully.
Fill Your Jars
Once your salsa has reached the desired consistency and is still hot, it’s time to fill your sterilized jars. Carefully ladle the hot salsa into the warm jars, leaving about 1/2 inch of headspace (the space between the top of the salsa and the rim of the jar). This headspace is critical for creating a proper seal. Remove any air bubbles by running a non-metallic spatula or the handle of a wooden spoon around the inside of the jar. Wipe the rims of the jars clean with a damp cloth or paper towel; any salsa residue on the rim can prevent a good seal. Place the sterilized lids on top of the jars and screw on the bands fingertip tight. They shouldn’t be overly tight, as air needs to escape during the processing.
Water Bath Canning and Cooling
Carefully place the filled and lidded jars into your simmering water bath canner. Make sure the jars are covered with at least 1-2 inches of water. Bring the water back to a rolling boil. Once boiling, process the jars for the recommended time for your altitude (typically 15 minutes for altitudes up to 1,000 feet). If you are at a higher altitude, you will need to adjust the processing time. Once the processing time is complete, turn off the heat and let the jars sit in the canner for an additional 5 minutes before carefully removing them with a jar lifter. Place the hot jars on a wire rack or a towel-lined counter, leaving at least an inch of space between them to allow for air circulation. Let them cool undisturbed for 12-24 hours. You will likely hear the satisfying ‘ping’ of the lids as they seal.
Check Seals and Store
After the jars have cooled completely, check the seals. The center of the lid should be concave and should not flex when pressed. If a lid has not senon-alcoholic aled, you can refrigerate that jar and use it within a few weeks, or reprocess it with a new lid. Wipe down the senon-alcoholic aled jars and remove the bands (as bands can rust or trap moisture and interfere with seals). Label your jars with the contents and the date. Store your delicious homemade sweet and spicy peach salsa in a cool, dark place, and enjoy its vibrant flavor for up to a year.
Conclusion:
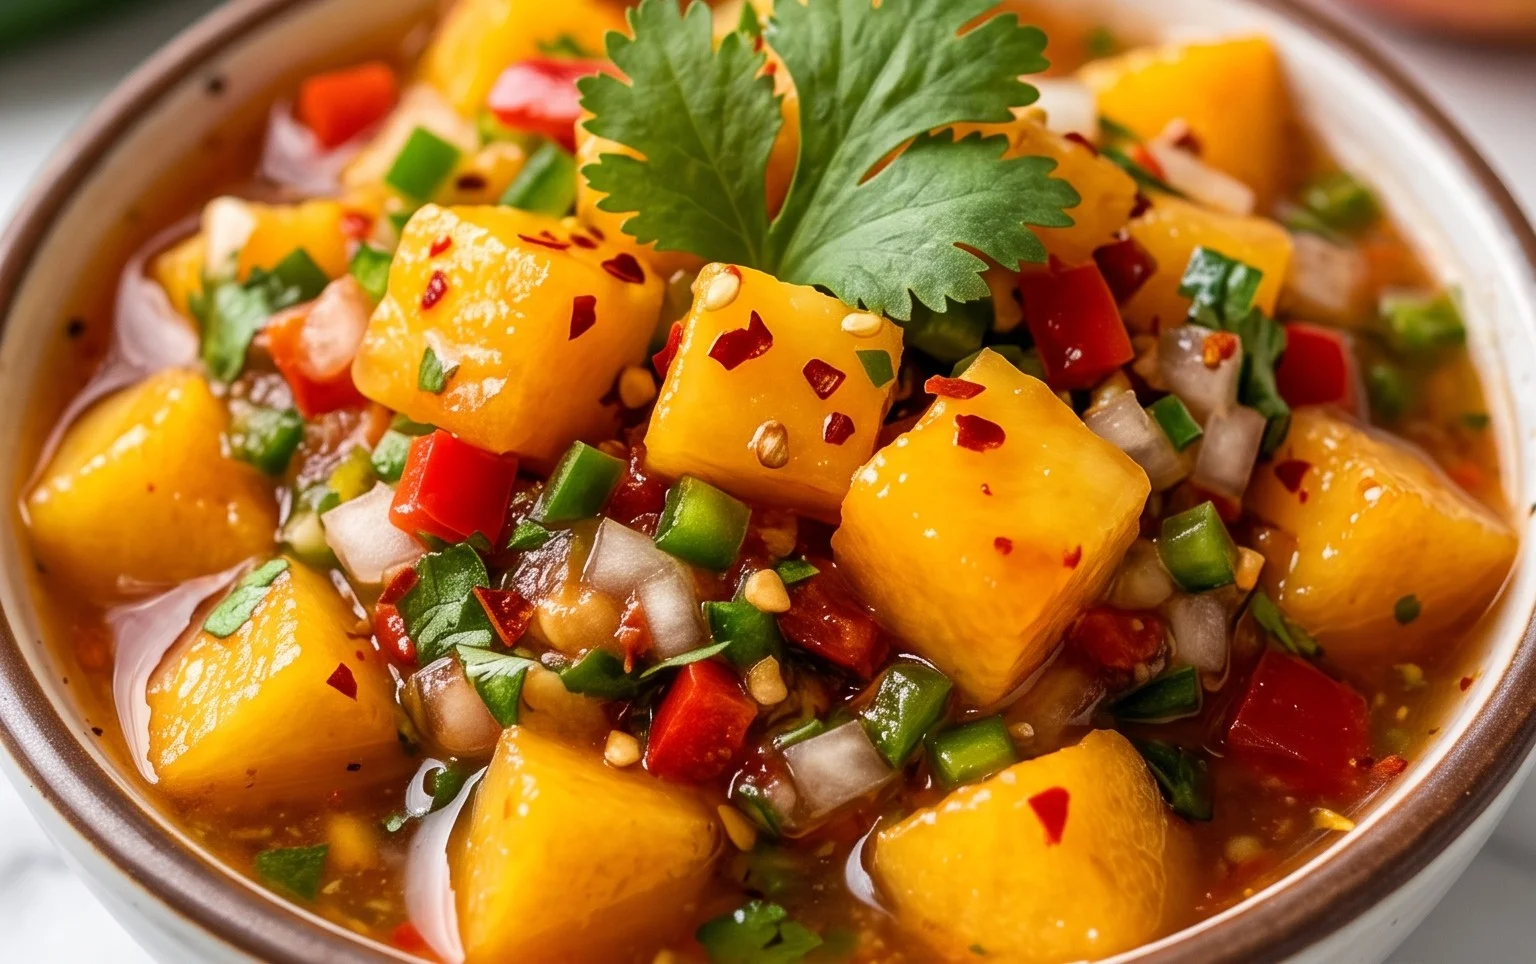
This sweet & spicy peach salsa canning recipe is a true winner! It perfectly captures the vibrant sweetness of summer peaches with a delightful kick of heat, creating a versatile condiment that will elevate any meal. Canning this delicious salsa means you can enjoy that taste of sunshine all year round, adding a burst of flavor to your pantry. I love serving it with grilled chicken or fish, as a topping for tacos, or even stirred into cream cheese for a fantastic appetizer dip.
Don’t be afraid to experiment! You can adjust the spice level by adding more or less jalapeño, or even swapping it out for a habanero for a fiercer heat. For a different fruity twist, try adding a handful of mango or pineapple alongside the peaches. This recipe is a fantastic way to preserve the bounty of peach season and I highly encourage you to give it a try. You won’t regret having this delicious sweet & spicy peach salsa on hand!
Frequently Asked Questions:
What is the best way to store the canned sweet & spicy peach salsa?
Once properly processed and senon-alcoholic aled according to canning guidelines, your sweet & spicy peach salsa will last for at least a year in a cool, dark pantry. After opening, it should be refrigerated and consumed within 2-3 weeks.
Can I make this salsa without canning it?
Absolutely! If you plan to consume the salsa within a few days, you can simply store it in an airtight container in the refrigerator. The canning process is for longer-term preservation.
What if I don’t like spicy food?
No problem! You can omit the jalapeños entirely for a mild, sweet peach salsa. Alternatively, you can use just half of one jalapeño, or remove the seeds and membranes before chopping to significantly reduce the heat.
Sweet & Spicy Peach Salsa Canning Recipe
A delicious and vibrant peach salsa perfect for canning, offering a delightful balance of sweet peaches and a spicy kick.
Ingredients
-
8 cups diced peaches (peeled and pitted)
-
4 cups diced tomatoes
-
2 cups diced chile peppers (choose pepper according to your heat preference)
-
2 cups diced red onion
-
5-7 cloves garlic (minced)
-
1 1/2 cup distilled white vinegar
-
1 cup bottled lime juice
-
1-2 tablespoons chile pepper flakes (more or less according to to taste)
-
1 tablespoon sea salt
Instructions
-
Step 1
In a large non-reactive pot, combine diced peaches, diced tomatoes, diced chile peppers, diced red onion, and minced garlic. -
Step 2
Stir in the distilled white vinegar, bottled lime juice, chile pepper flakes, and sea salt. -
Step 3
Bring the mixture to a boil over medium-high heat, then reduce heat and simmer for 20 minutes, stirring occasionally. This allows the flavors to meld. -
Step 4
While the salsa simmers, prepare your canning jars, lids, and rings according to the manufacturer’s instructions. Sterilize jars, lids, and rings. -
Step 5
Ladle the hot salsa into prepared jars, leaving 1/2 inch headspace. Wipe rims clean, apply lids, and screw on rings fingertip tight. -
Step 6
Process the filled jars in a boiling water canner for the time recommended for your altitude and processing method (typically 15 minutes for quarts at sea level). -
Step 7
Remove jars from canner and let them cool undisturbed on a towel-lined counter for 12-24 hours. Check for seals.
Important Information
Nutrition Facts (Per Serving)
It is important to consider this information as approximate and not to use it as definitive health advice.
Allergy Information
Please check ingredients for potential allergens and consult a health professional if in doubt.