Crispy Ground Beef Tacos- Quick & Easy Recipe
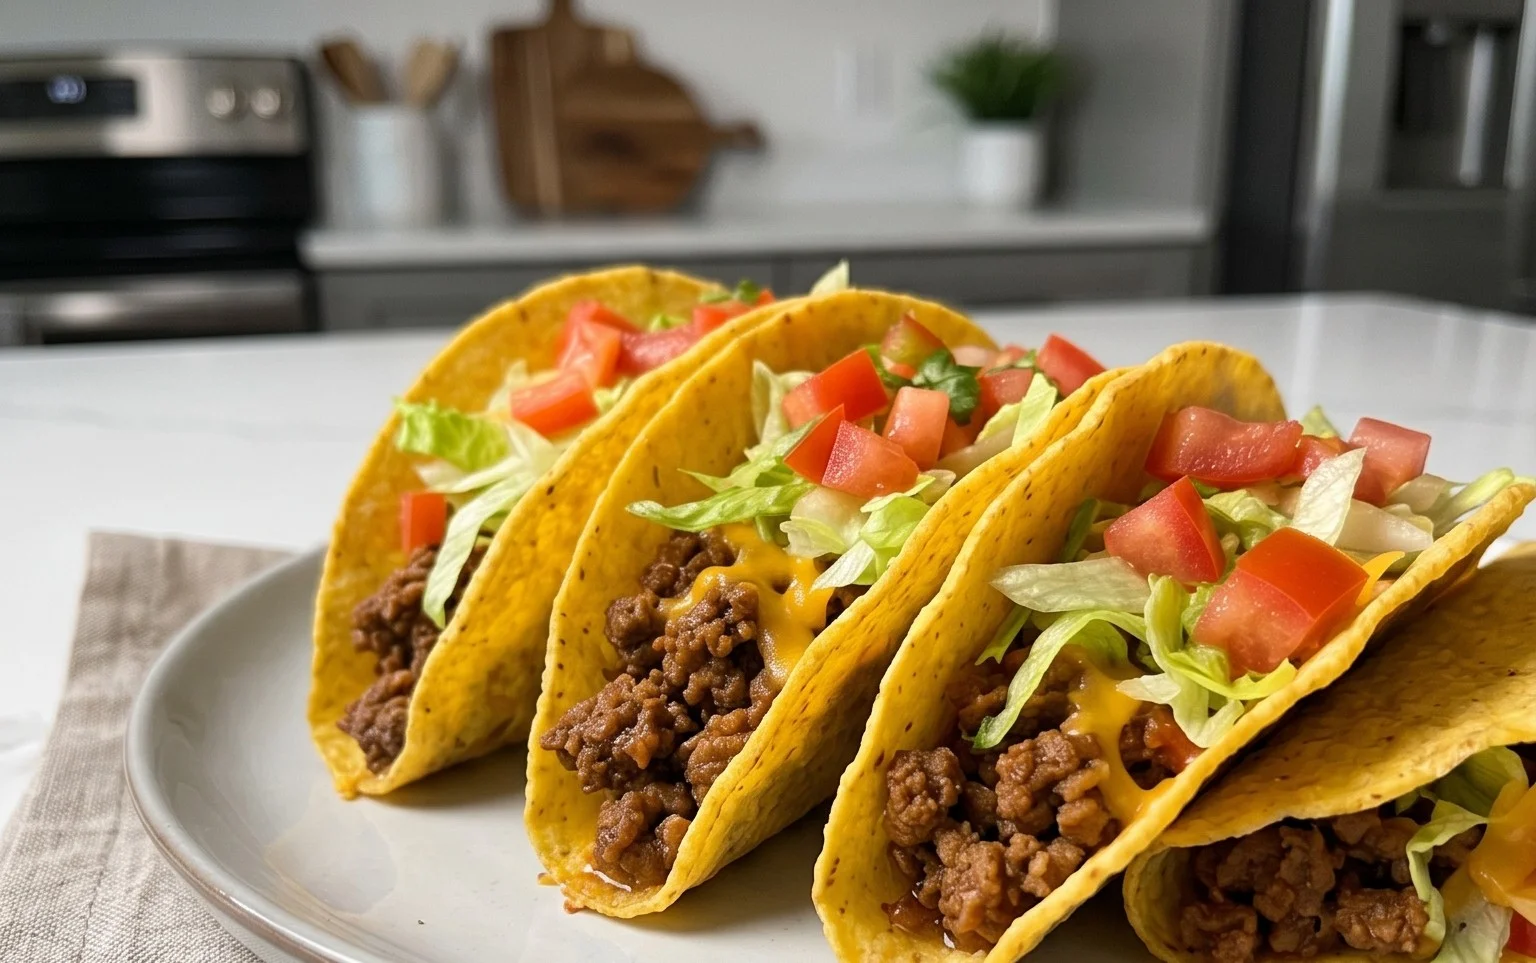
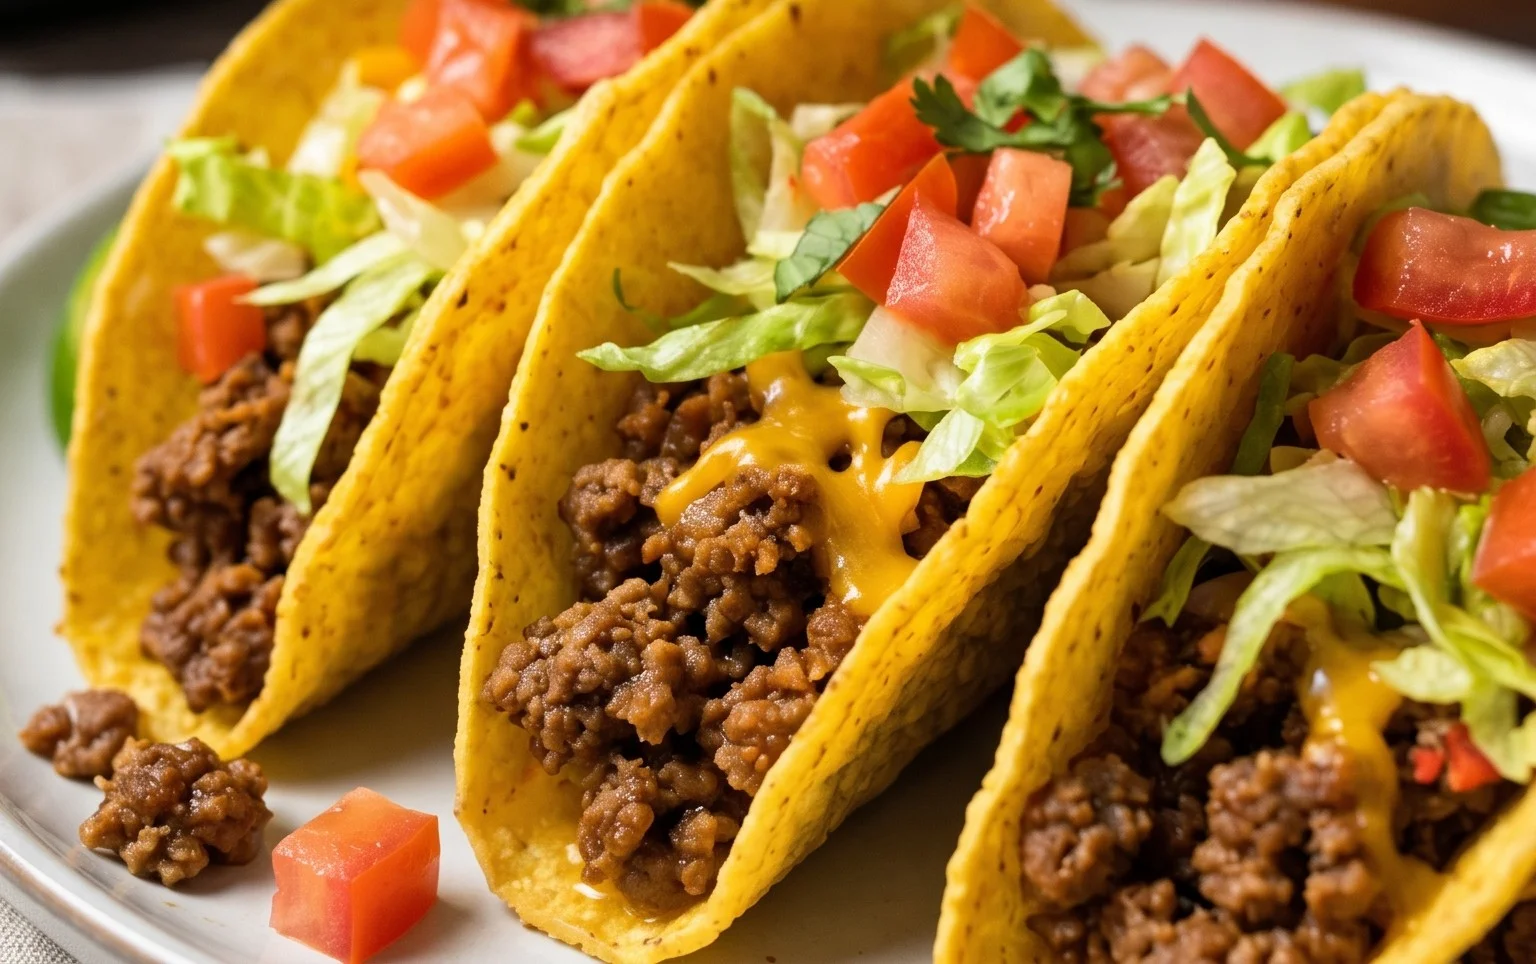
Crispy Ground Beef Tacos are a weeknight dinner revelation, and I’m here to show you exactly why they’re a crowd-pleaser that’s impossibly easy to master. There’s something undeniably magical about that shatteringly crisp taco shell giving way to a savory, perfectly seasoned ground beef filling. It’s a texture and flavor combination that transports me straight back to childhood, but elevated with a few simple tricks that make these the BEST crispy ground beef tacos you’ll ever make at home. Forget soggy shells and bland meat; we’re aiming for pure taco perfection! This recipe is all about maximizing flavor and achieving that irresistible crunch that makes every bite an adventure. Get ready to impress yourself and everyone you feed with these sensational crispy ground beef tacos.
Ingredients:
Crispy Ground Beef Tacos: Your New Weeknight Favorite
There’s something undeniably comforting and satisfying about a good taco. And when that taco is stuffed with perfectly seasoned, crispy ground beef and topped with melty cheese, it’s pure magic. These Crispy Ground Beef Tacos are so easy to make, you’ll wonder why you haven’t been making them every night of the week. They strike that perfect balance between hearty and flavorful, with a delightful crunch from the slightly crisped taco shells. Plus, they’re incredibly versatile – feel free to add your favorite toppings!
My personal journey with these tacos started out of a desire for a quick, crowd-pleasing meal that didn’t require a lot of fuss. I wanted that authentic taco truck flavor right in my own kitchen. After a few tweaks and experiments, I landed on this recipe, and it’s been a staple ever since. The key to getting that fantastic texture is in the way we cook the beef and then crisp up the tortillas. Don’t worry if you’re not a seasoned chef; these steps are straightforward and designed for success.
Preparing the Flavorful Beef Filling
The foundation of any great taco is the filling, and our ground beef is going to be packed with flavor. We’ll start by getting our aromatics ready. Finely chopping the onion ensures that its sweetness and pungency are evenly distributed throughout the meat, rather than having large, overwhelming chunks.
Crisping Your Tortillas to Perfection
The “crispy” in these tacos is non-negotiable for me. While some might opt for pre-made hard shells, I find that gently crisping flour tortillas yourself adds a superior texture and flavor. It’s a simple step that elevates the entire taco experience. We’re aiming for a texture that’s pliable enough to hold the fillings but has a delightful chew and a slight crispness around the edges.
Step-by-Step Taco Assembly and Enjoyment
Now comes the fun part: bringin extractg it all together and creating those glorious tacos!
1. Brown the Ground Beef: Place your 1 pound of 90/10 ground beef into a large skillet over medium-high heat. Break up the meat with a spoon as it cooks. You want to cook it until it’s no longer pink and is nicely browned. As it cooks, excess grease will render out. Carefully drain off most of this grease, leaving just a tablespoon or two in the pan to help sauté the onions and bind the seasonings. This step is crucial for avoiding a greasy filling.
2. Sauté the Onions and Season: Add the 1/2 medium finely chopped onion to the skillet with the browned ground beef. Cook, stirring occasionally, for about 3-5 minutes, until the onions have softened and become translucent. Now, it’s time to add the flavor. Sprinkle in the 2 tablespoons of taco seasoning. Stir well to coat the beef and onions evenly. This allows the spices to toast slightly, which enhances their aroma and flavor.
3. Simmer and Thicken the Filling: Stir in the 2 tablespoons of tomato paste. The tomato paste adds a rich, slightly sweet, and umami depth to the taco filling. Pour in 1/4 cup of water or beef broth. Bring the mixture to a simmer. Once simmering, reduce the heat to low and let it cook for about 5-7 minutes, stirring occasionally. This allows the flavors to meld together and the liquid to reduce, creating a wonderfully cohesive and flavorful meat mixture. Taste the filling and add salt to taste, if needed. Keep in mind that taco seasoning often contains salt, so adjust accordingly.
4. Crisp the Flour Tortillas: While the beef is simmering, prepare your taco shells. Heat a thin layer of avocado or vegetable oil in a separate skillet over medium heat. You don’t need a lot of oil, just enough to lightly coat the bottom of the pan. Carefully place one flour tortilla into the hot oil. Cook for about 30-60 seconds per side, until it starts to puff up slightly and develops golden-brown, crispy edges. Don’t overcrowd the pan; cook them in batches. You’re aiming for a pliable shell with some crispness, not a hard, brittle one. As each tortilla is crisped, transfer it to a plate lined with paper towels to absorb any excess oil. You can also achieve this by lightly brushing tortillas with oil and baking them on a baking sheet at around 375°F (190°C) for 5-8 minutes, flipping halfway, until lightly golden and slightly crisp.
5. Assemble Your Tacos: Now for the grand finnon-alcoholic ale! Take a crisped flour tortilla and generously fill it with your delicious ground beef mixture. Then, pile on the 2 to 3 cups of shredded mozzarella cheese over the hot beef. The residual heat from the beef will start to melt the cheese beautifully. If you want extra melty cheese, you can pop them under a broiler for just a minute or two, watching them very carefully to prevent burning. Garnish your loaded tacos with freshly chopped cilantro for a burst of freshness. Serve immediately and enjoy every single bite!
These tacos are fantastic on their own, but they also welcome a variety of toppings. Think shredded lettuce, diced tomatoes, sour cream, salsa, or a squeeze of lime. The possibilities are endless, and that’s part of what makes them so enjoyable. Enjoy your delicious, homemade Crispy Ground Beef Tacos!
Conclusion:
There you have it – a foolproof guide to crafting the most incredibly Crispy Ground Beef Tacos! This recipe is a weeknight dinner game-changer, delivering that satisfying crunch and savory beef filling that everyone loves. It’s simple, quick, and endlessly customizable, making it perfect for busy evenings or casual get-togethers. Don’t hesitate to dive in and give these a try; I promise you won’t be disappointed with the delicious results!
For serving, imagin extracte these hot and fresh tacos piled high with your favorite toppings. Classic choices include shredded lettuce, diced tomatoes, shredded cheddar cheese, sour cream, and a squeeze of lime. For a bolder flavor, consider adding pickled jalapeños, a dollop of guacamole, or a drizzle of your go-to hot sauce. The beauty of this recipe is its versatility. Feel free to experiment with different seasonings for the ground beef – think smoky paprika, a pinch of cayenne for heat, or even some dried oregano for an authentic Mexican flair. You could also swap the ground beef for ground turkey or chicken, or even a plant-based crum extractble for a vegetarian twist.
Frequently Asked Questions:
How do I get the crispiest taco shells?
The key to super crispy shells is to ensure the oil is hot enough before adding the tortillas and to fry them until they’re golden brown and firm. Don’t overcrowd the pan, and let them drain on a wire rack to prevent them from steaming and becoming soggy.
Can I make the ground beef filling ahead of time?
Absolutely! The seasoned ground beef filling can be made a day or two in advance and stored in an airtight container in the refrigerator. Reheat it gently on the stovetop or in the microwave before assembling your tacos.
What are some other fun topping ideas?
Beyond the classics, try adding black beans, corn salsa, pico de gallo, a sprinkle of cotija cheese, or even some thinly sliced radishes for an extra crunch and peppery bite!
Crispy Ground Beef Tacos
Easy and delicious crispy ground beef tacos made with simple ingredients.
Ingredients
-
1 pound 90/10 ground beef
-
1/2 medium onion, finely chopped
-
2 tablespoons taco seasoning
-
2 tablespoons tomato paste
-
1/4 cup water or beef broth
-
salt to taste
-
8 (6 inch) taco size flour tortillas
-
2 to 3 cups mozzarella cheese, shredded
-
avocado or vegetable oil
-
fresh cilantro, finely chopped, garnish
Instructions
-
Step 1
In a large skillet, cook the ground beef and chopped onion over medium heat until the beef is browned and the onion is softened. Drain off any excess grease. -
Step 2
Stir in the taco seasoning and tomato paste. Cook for 1 minute, stirring constantly. -
Step 3
Add the water or beef broth and bring to a simmer. Reduce heat and cook for 5-10 minutes, or until the sauce has thickened. Season with salt to taste. -
Step 4
Warm the flour tortillas according to package directions or by lightly frying them in a little oil until pliable and slightly browned. -
Step 5
Assemble the tacos by filling each tortilla with the seasoned ground beef mixture and topping with shredded mozzarella cheese. The heat from the beef will help melt the cheese. -
Step 6
Garnish with fresh cilantro before serving.
Important Information
Nutrition Facts (Per Serving)
It is important to consider this information as approximate and not to use it as definitive health advice.
Allergy Information
Please check ingredients for potential allergens and consult a health professional if in doubt.